


Here are some marlin teasers
that you can easily make at home for $10 to $15 instead of buying them for $100.
They rattle, splash and smoke.
I am experimenting with various head & tail combinations,
weights, tube lengths and tow points to see what happens.
I will update this page as I get results I like. I am still working on a setup
that will wobble and dart back and forth. Stay tuned.
Click on the thumbnail photos to see more detail.
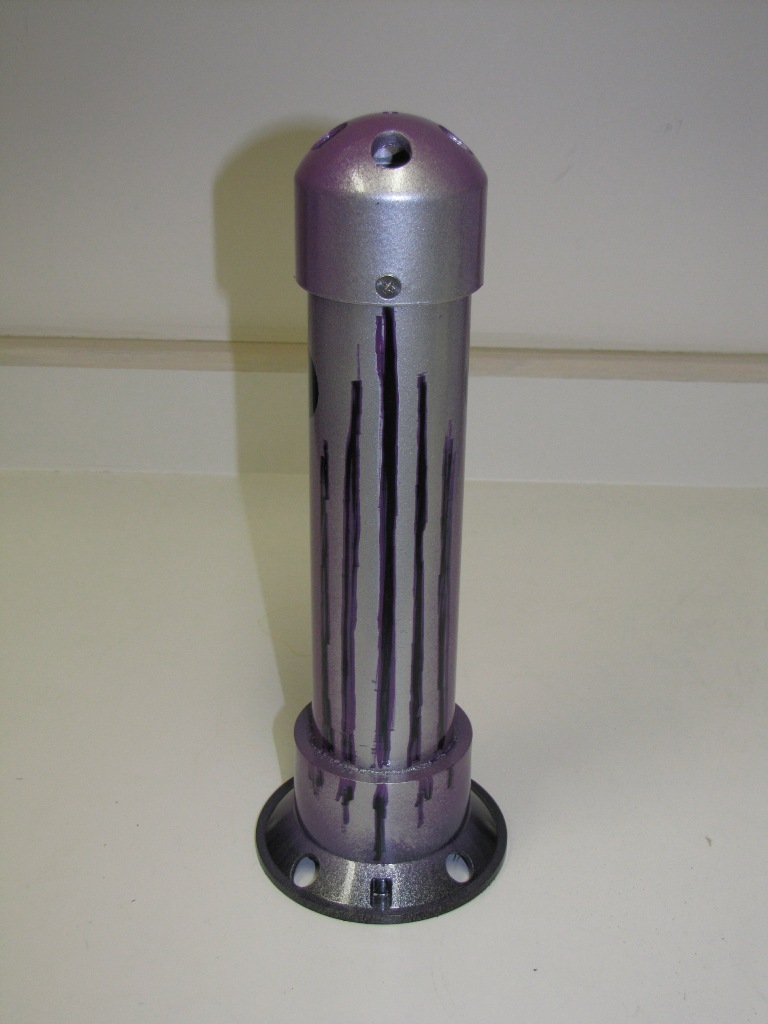
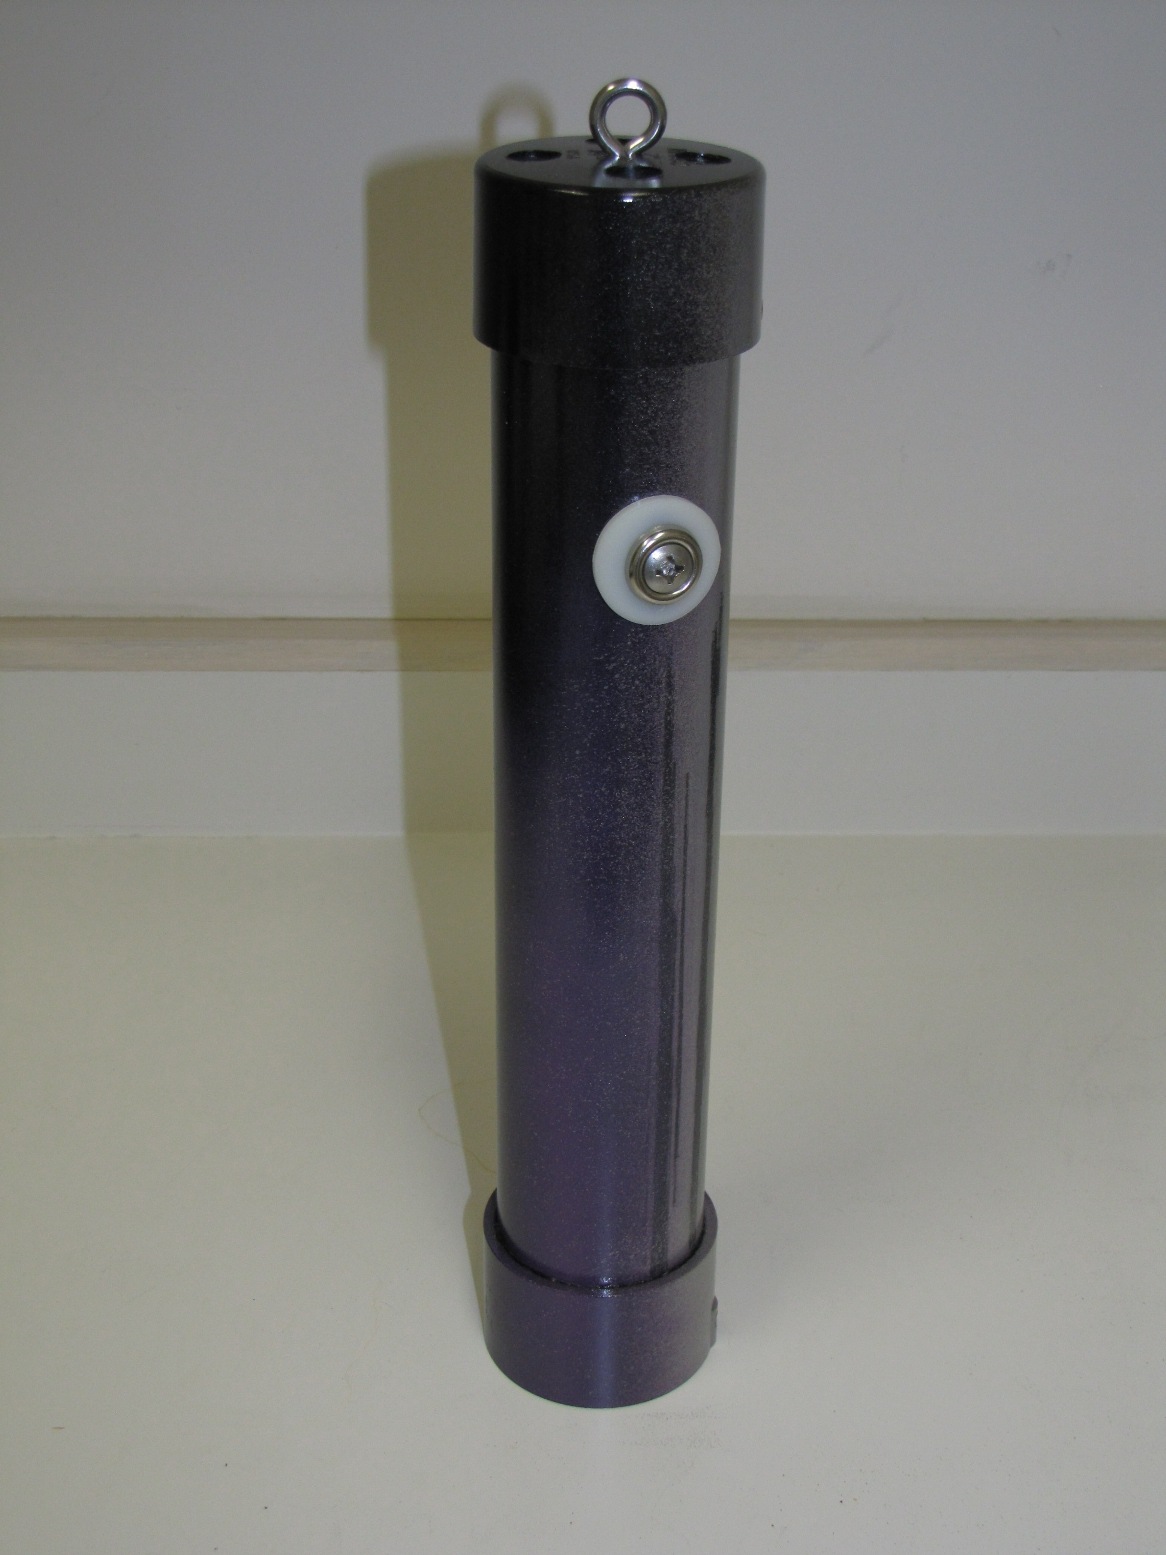
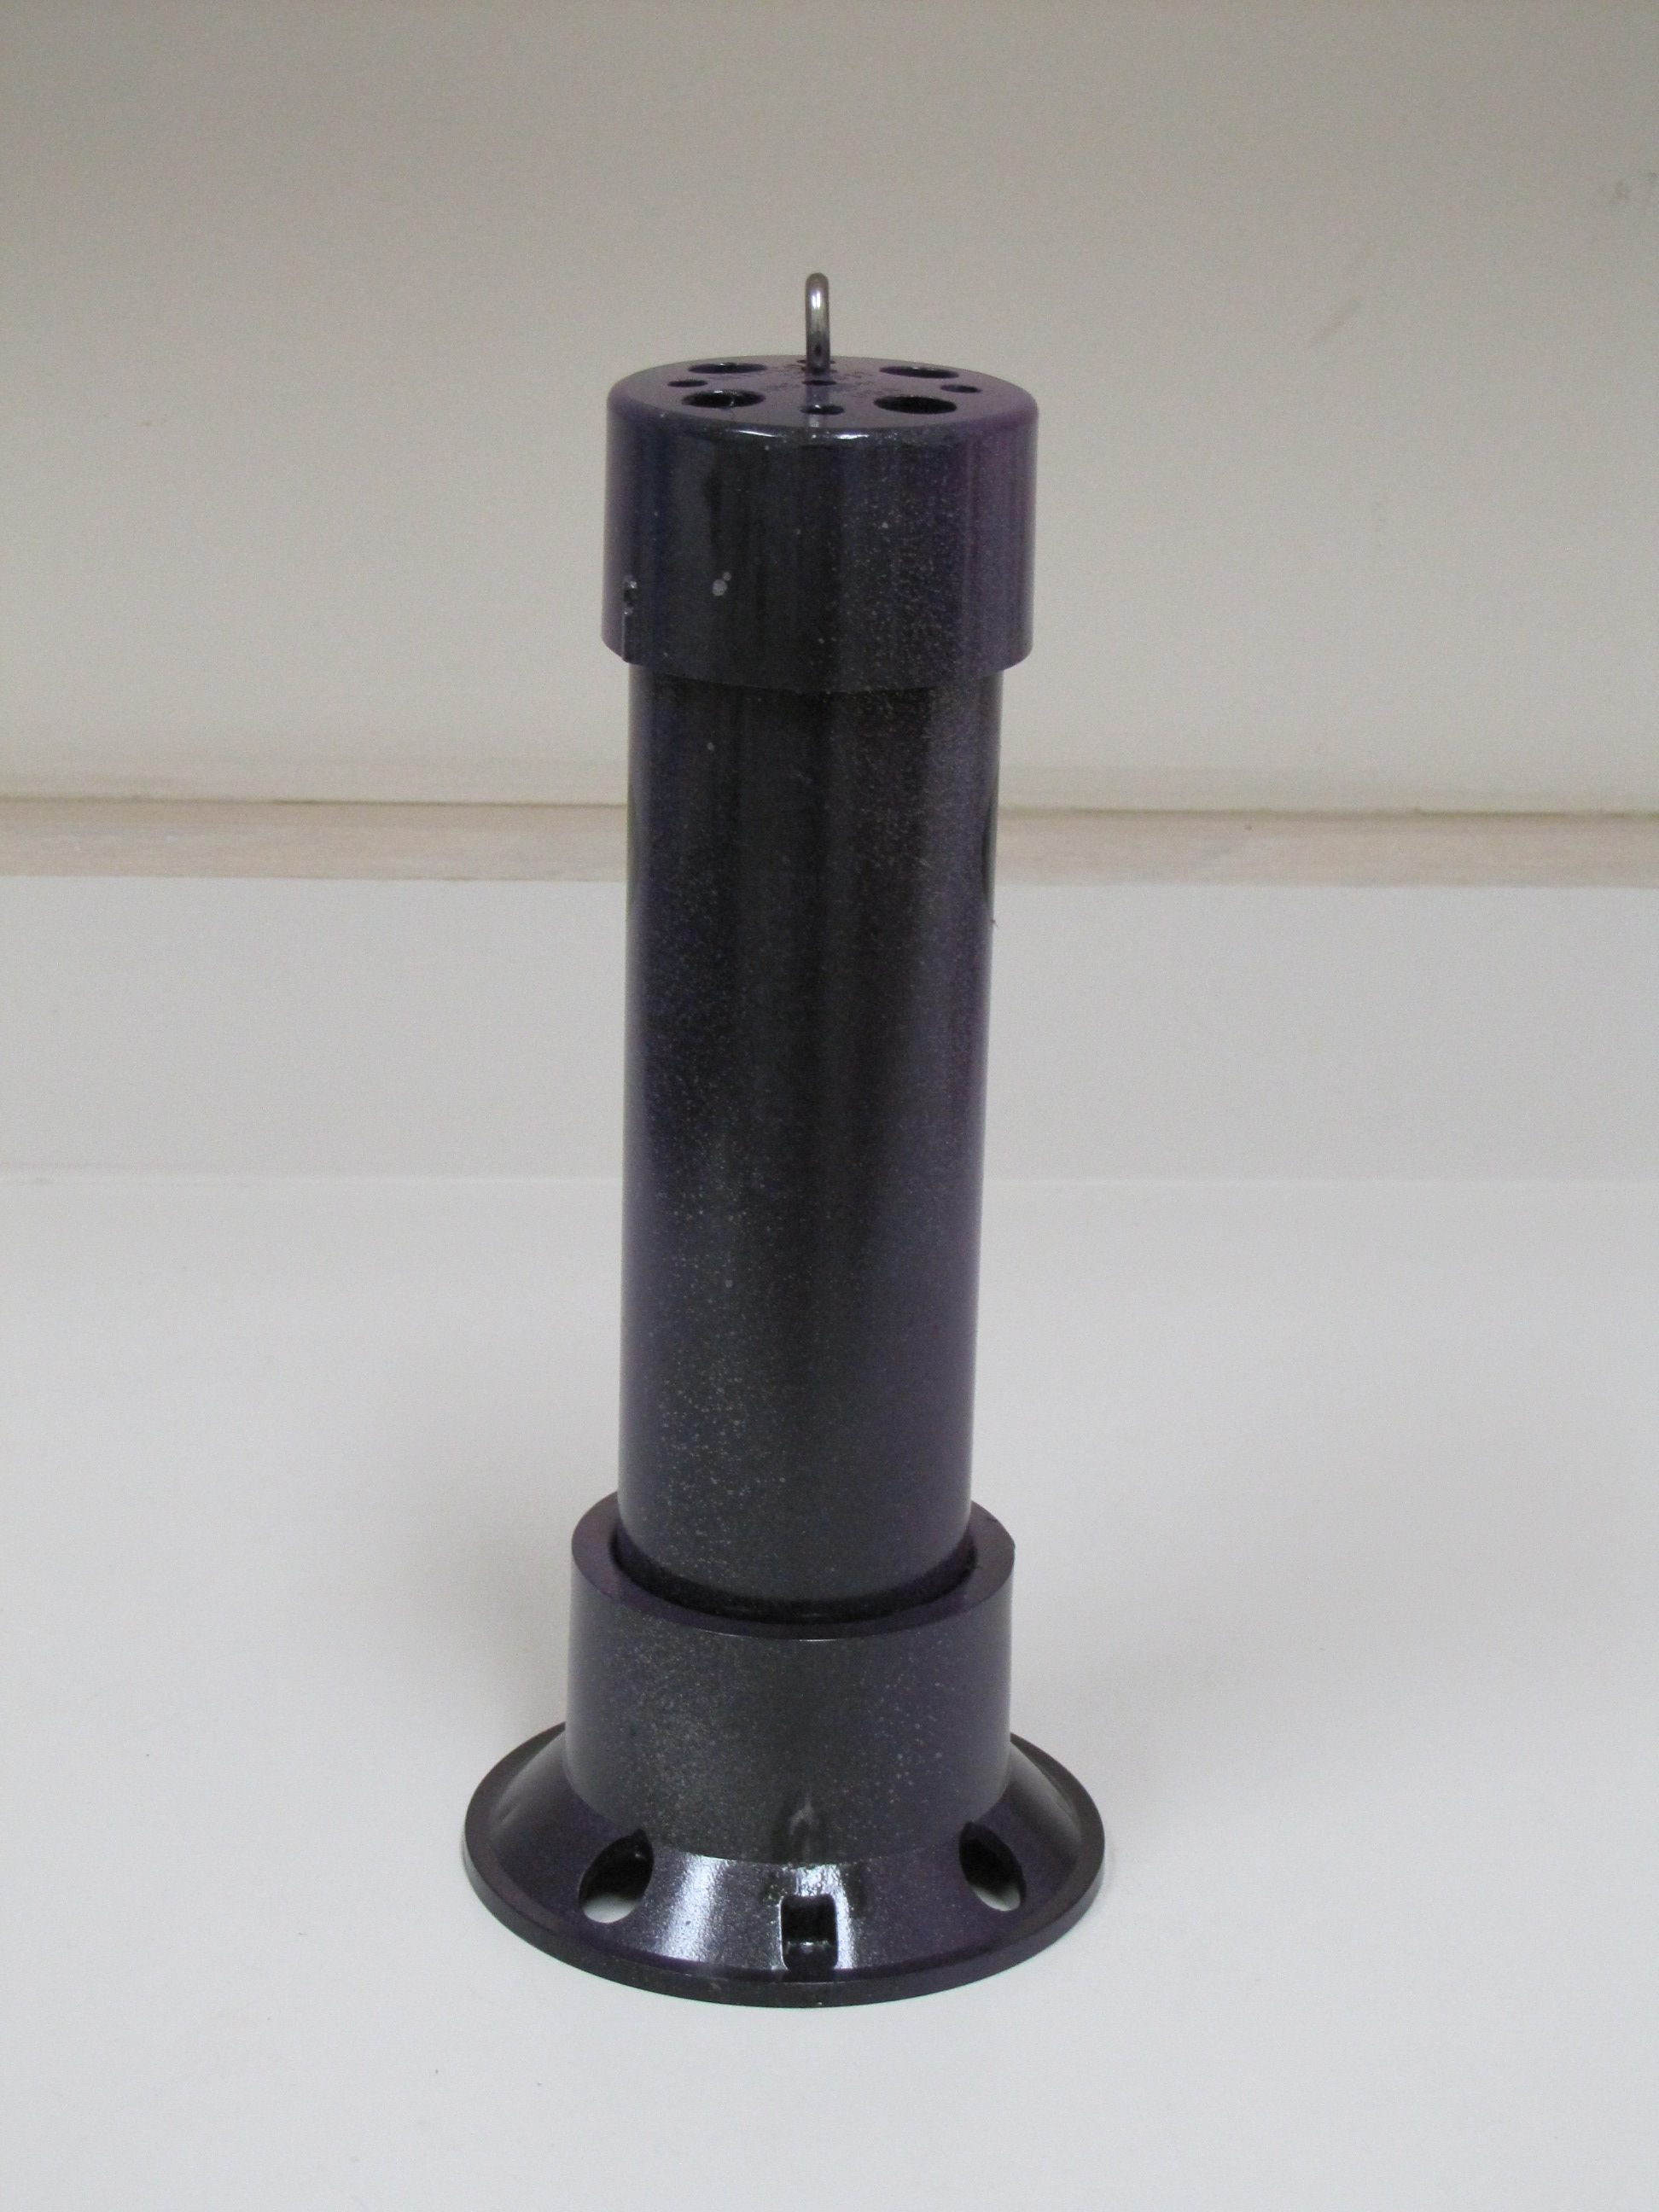
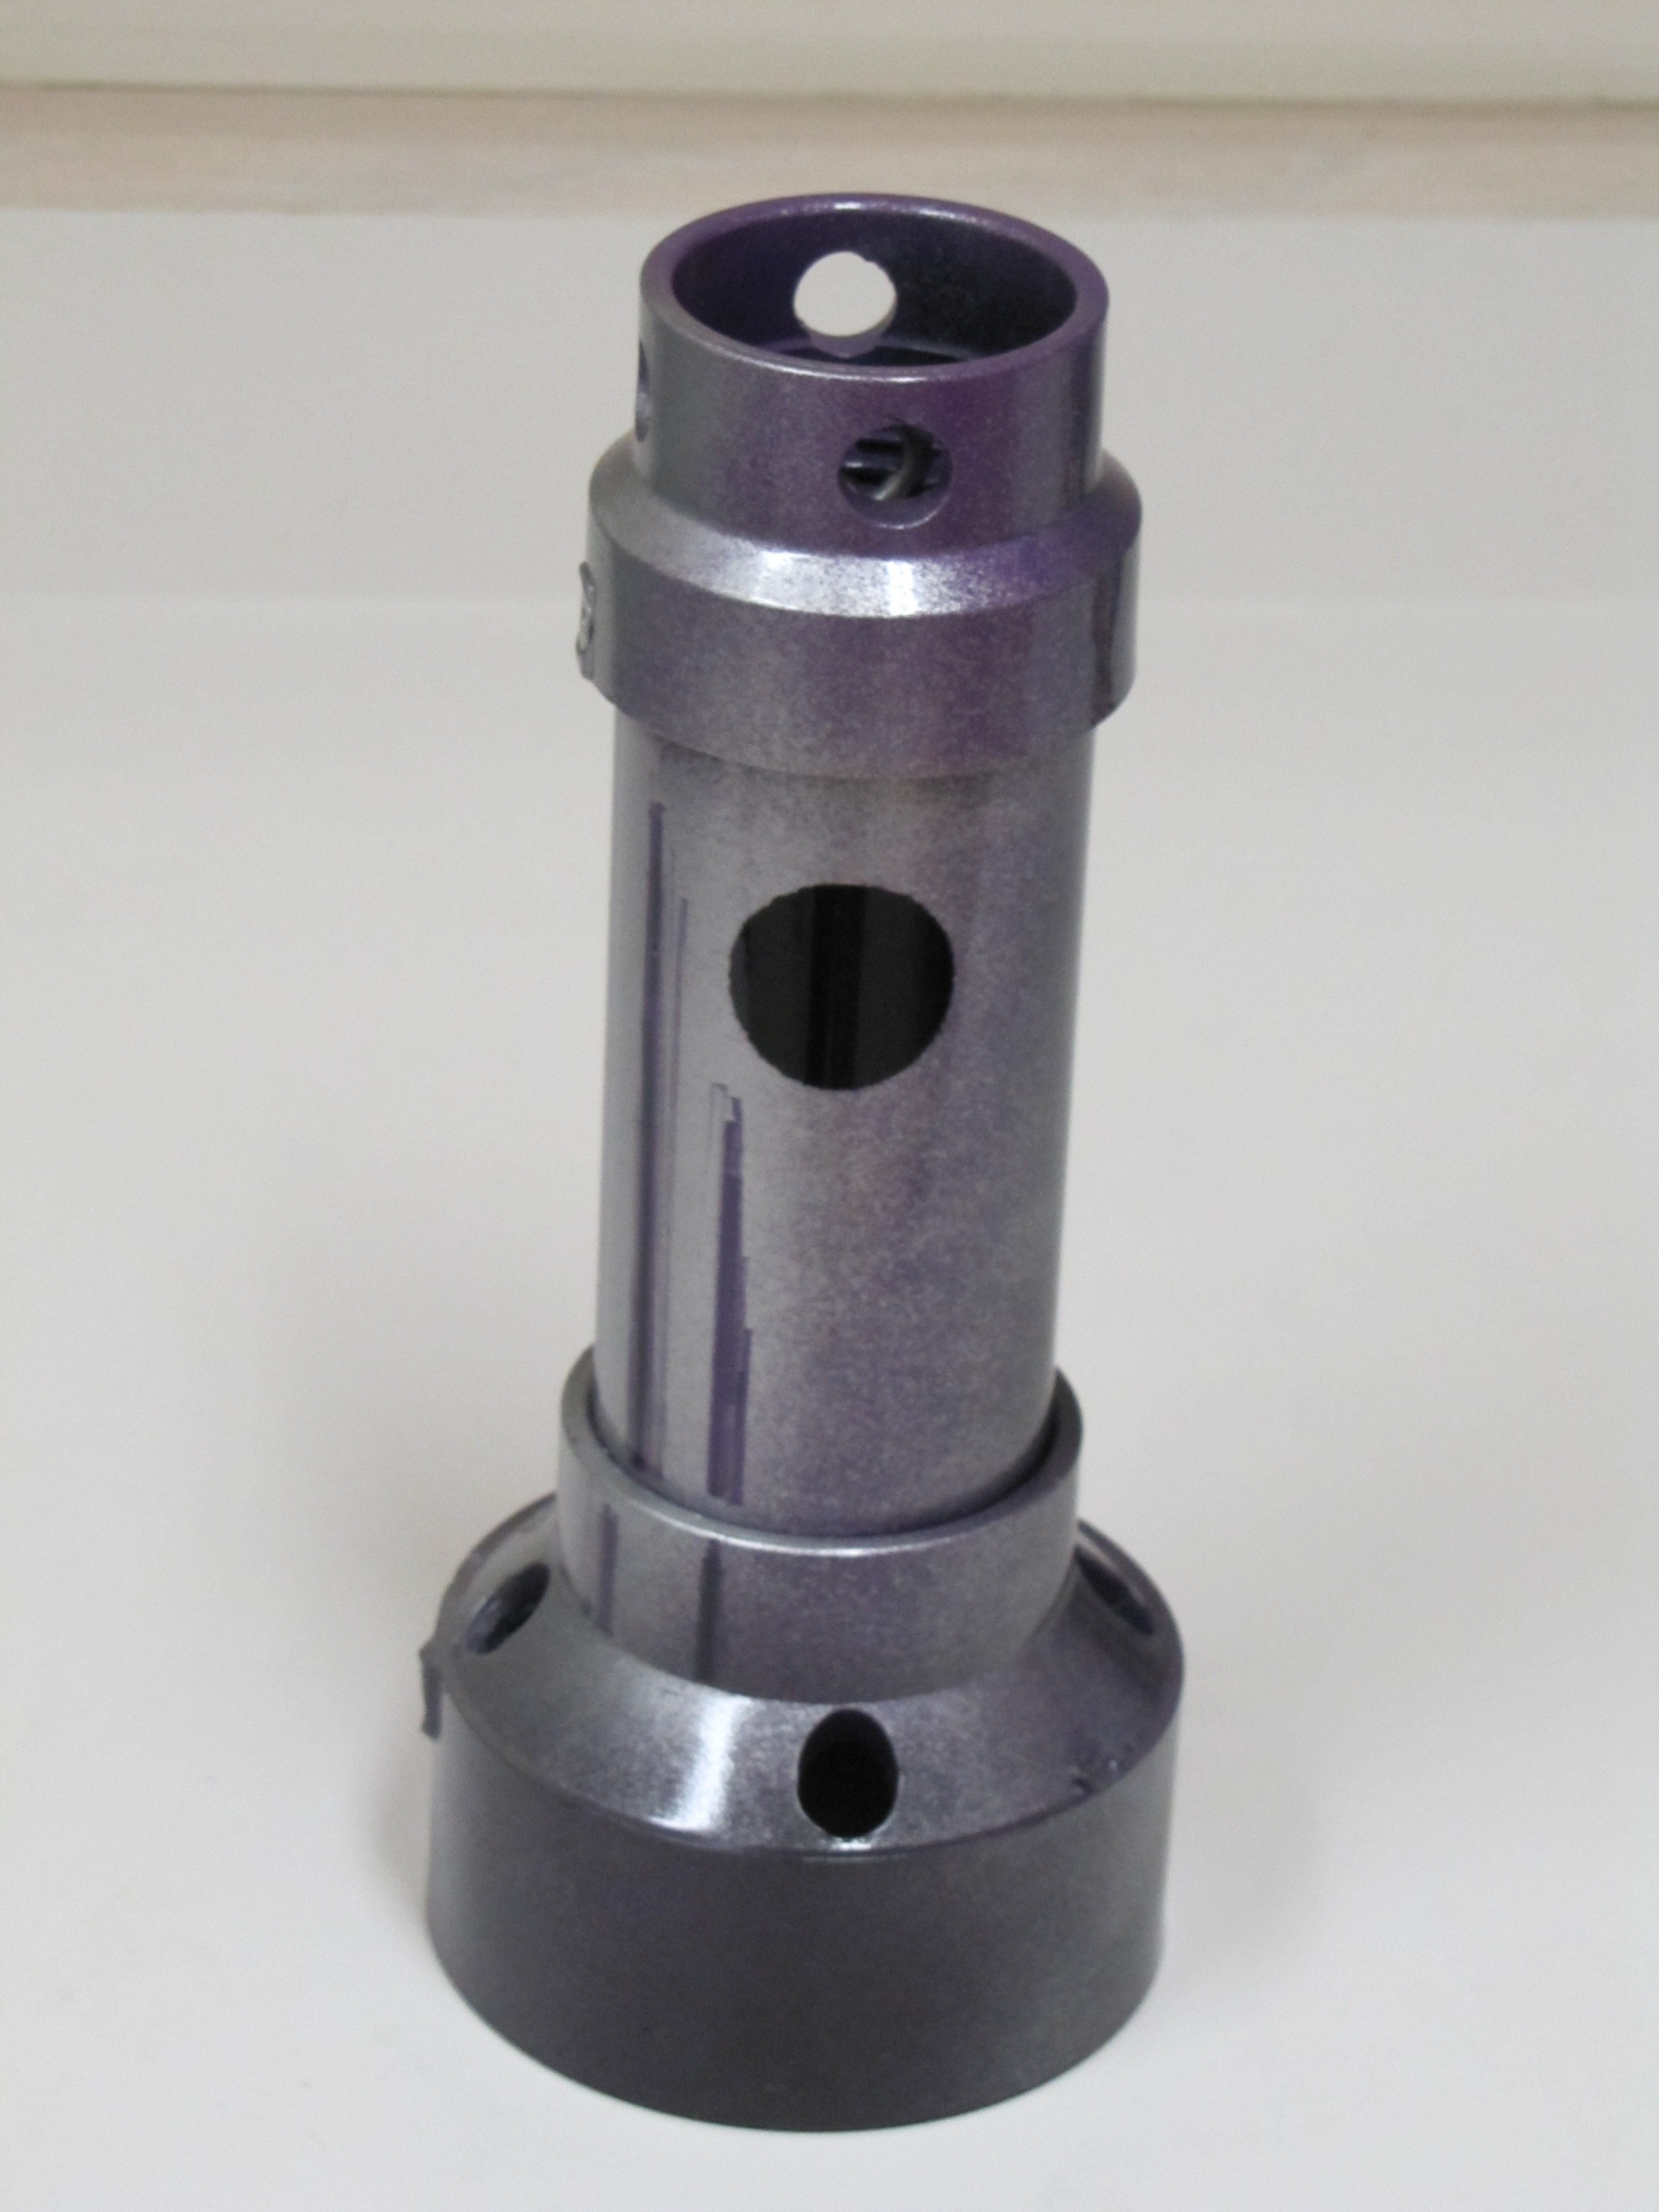
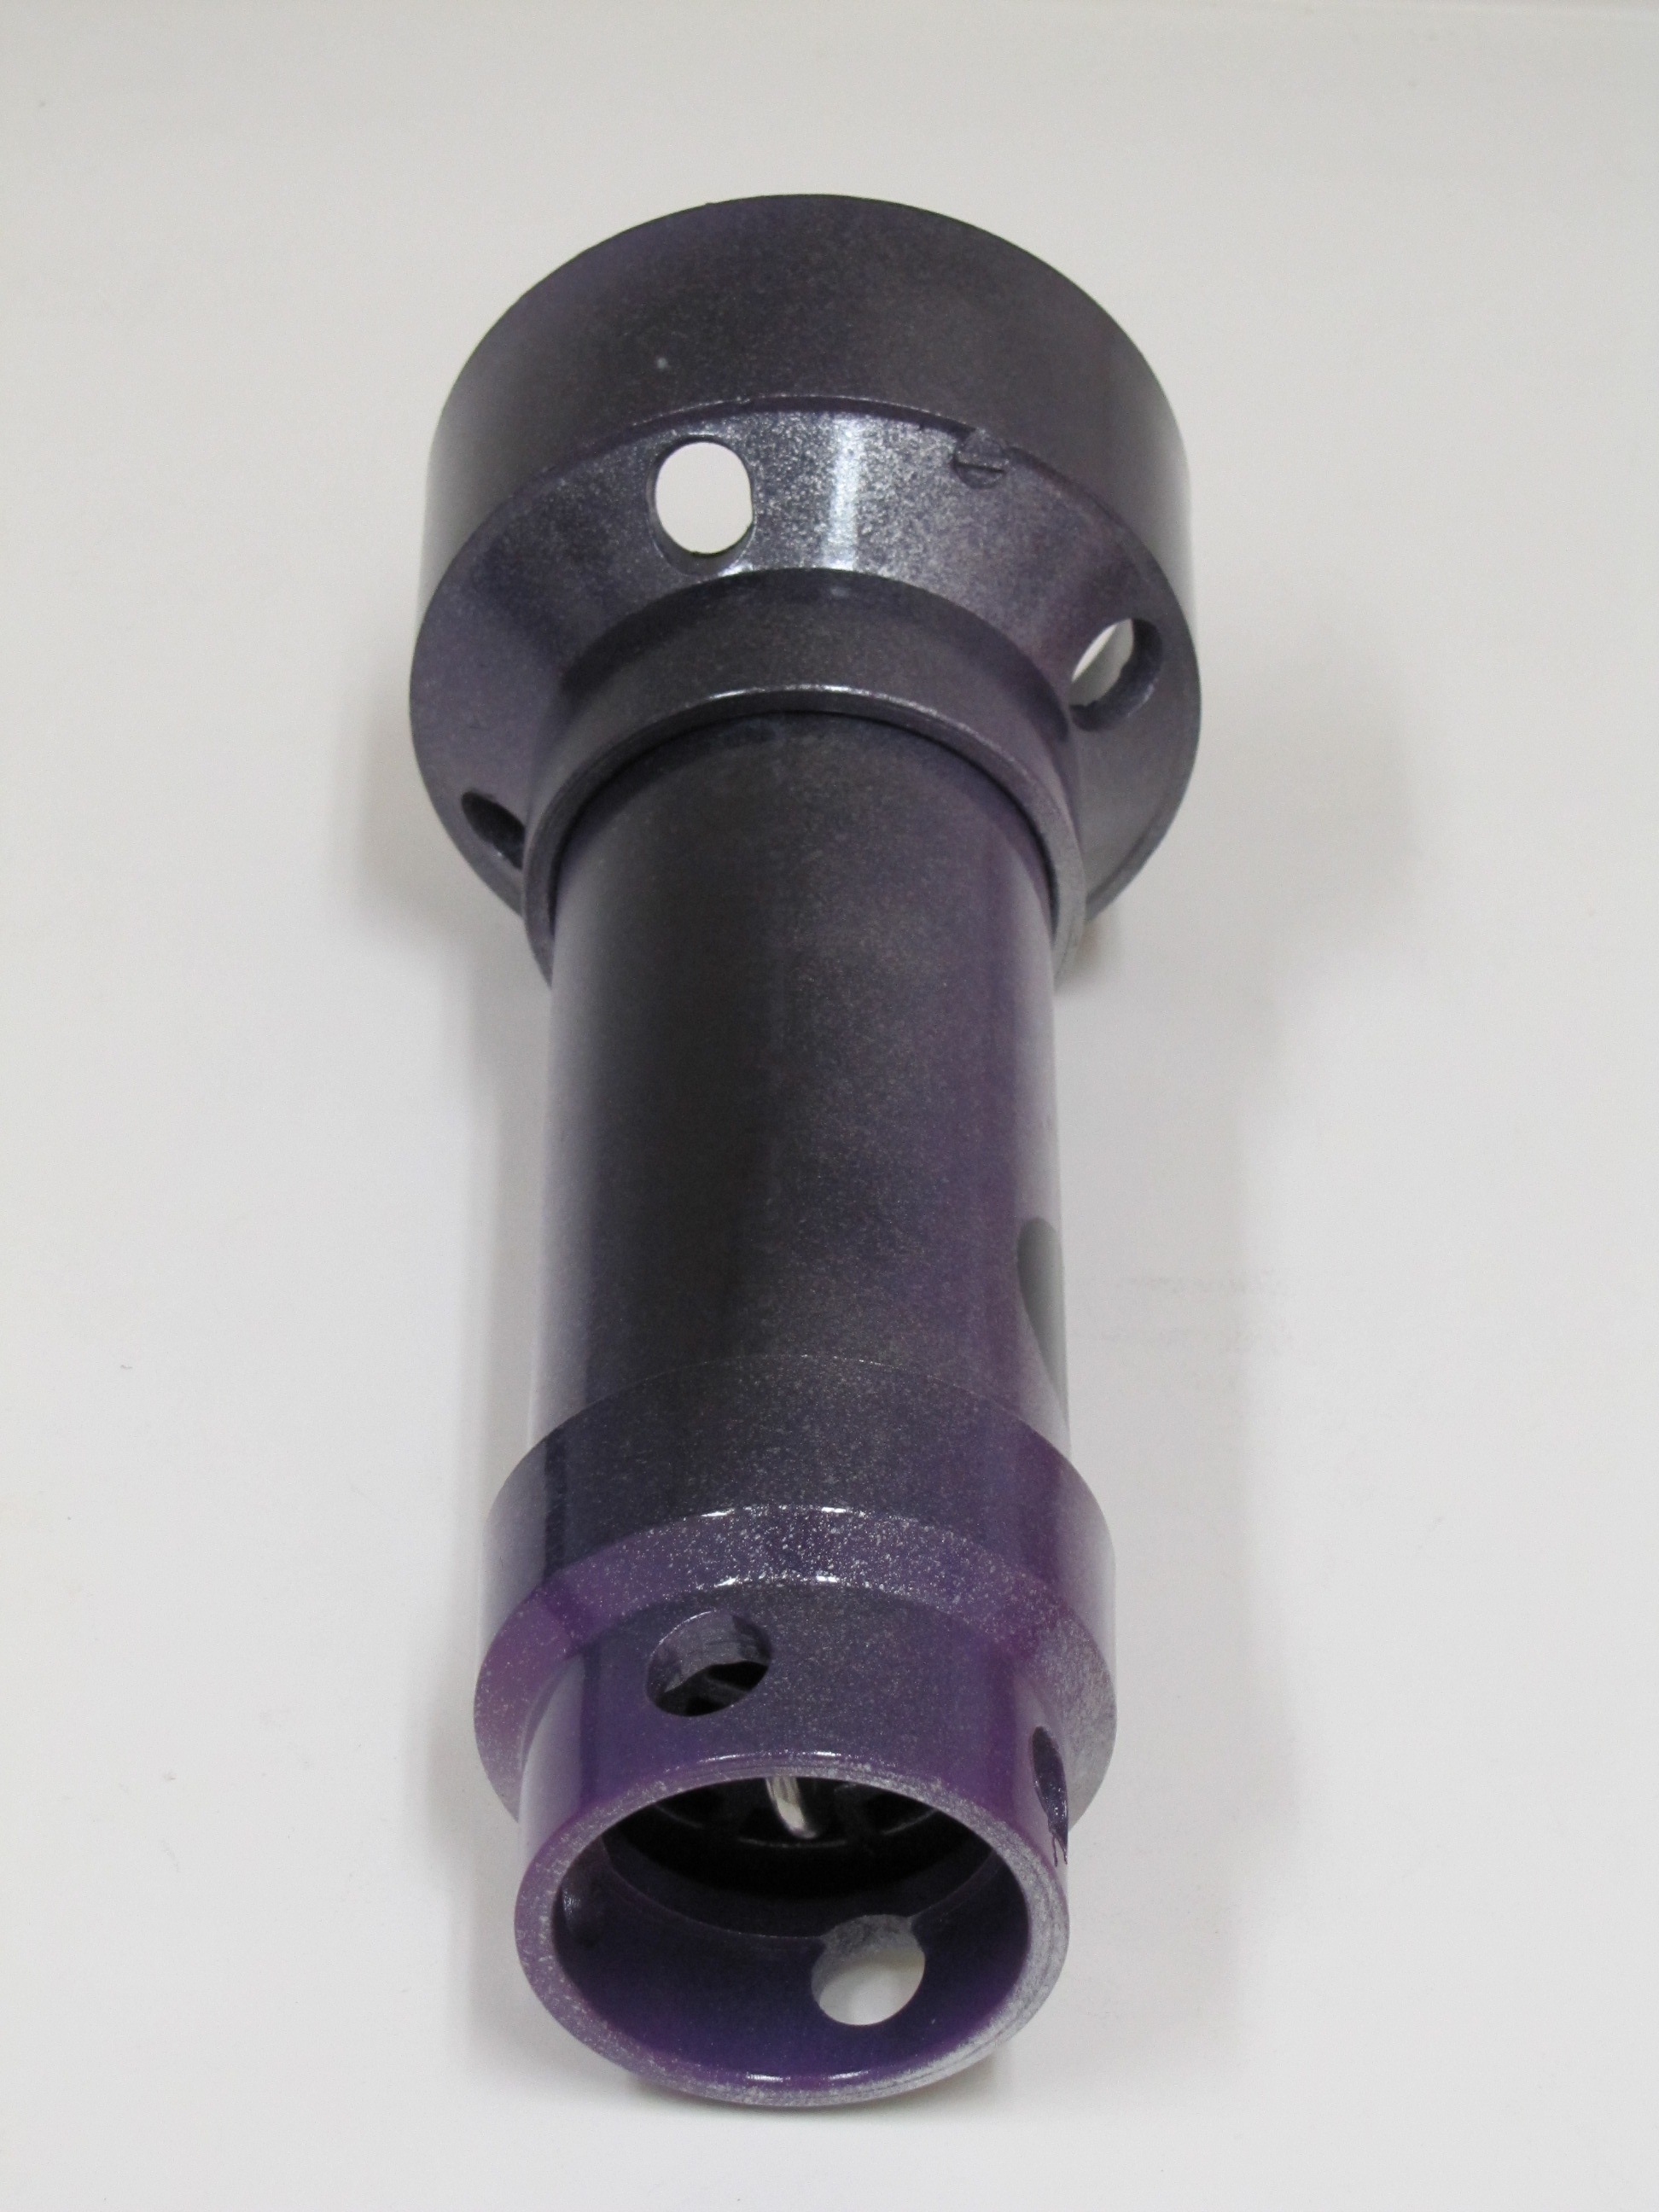
The Marlin Missile- countdown to hookup
Creates a lot of commotion at the back of the teaser,
like a splashing fish tail but with a cleaner entry than the one below. This
tends to dive and surface in a dolphin-like motion but stays on the top of the
water a lot more than the Smokin' Gun. Very splashy.
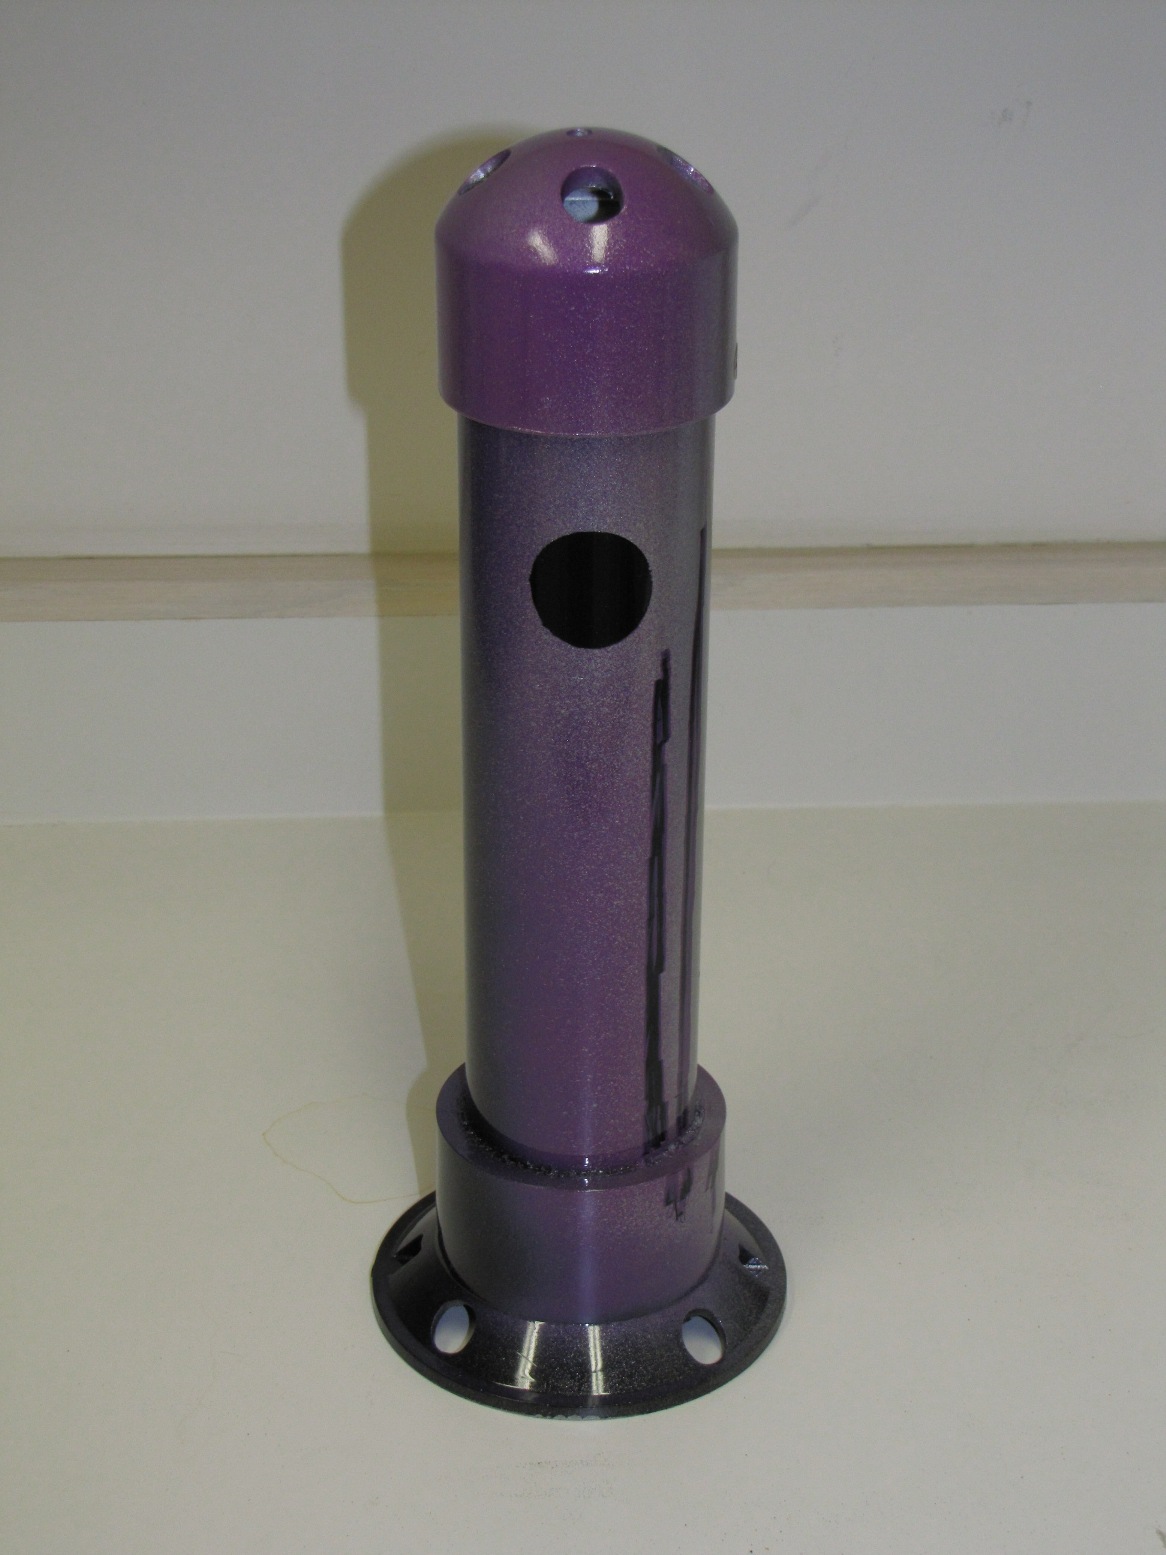
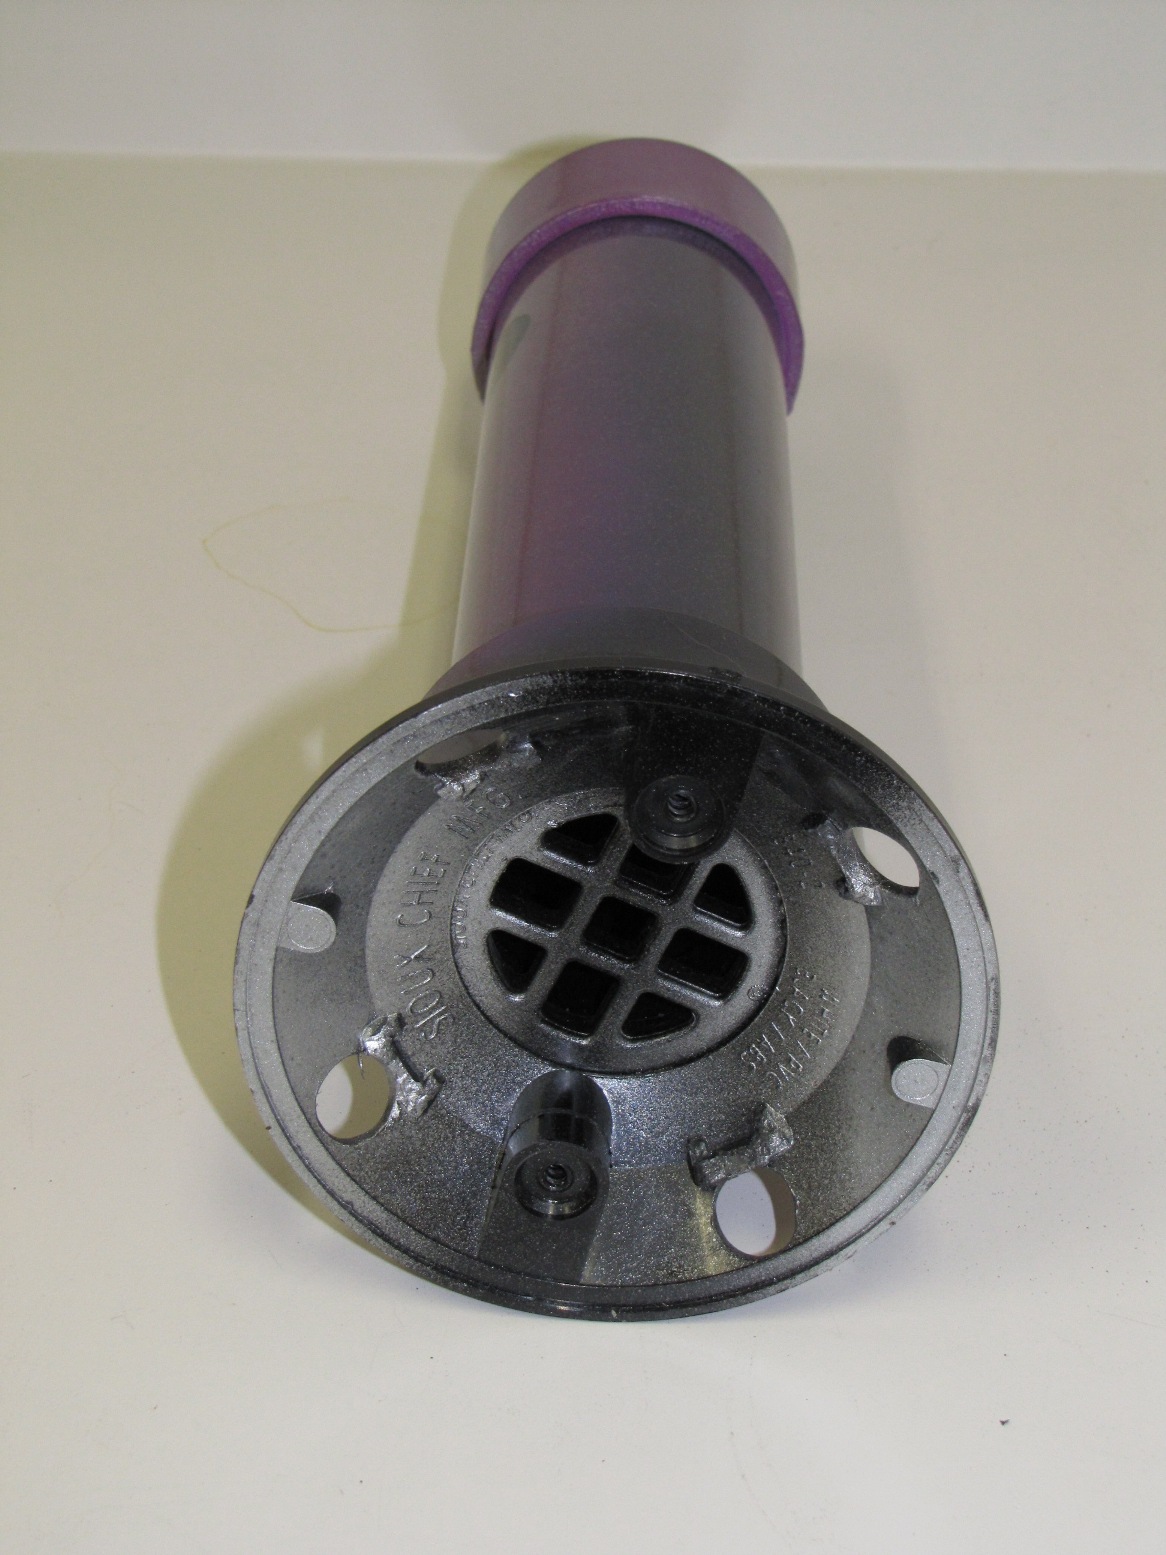
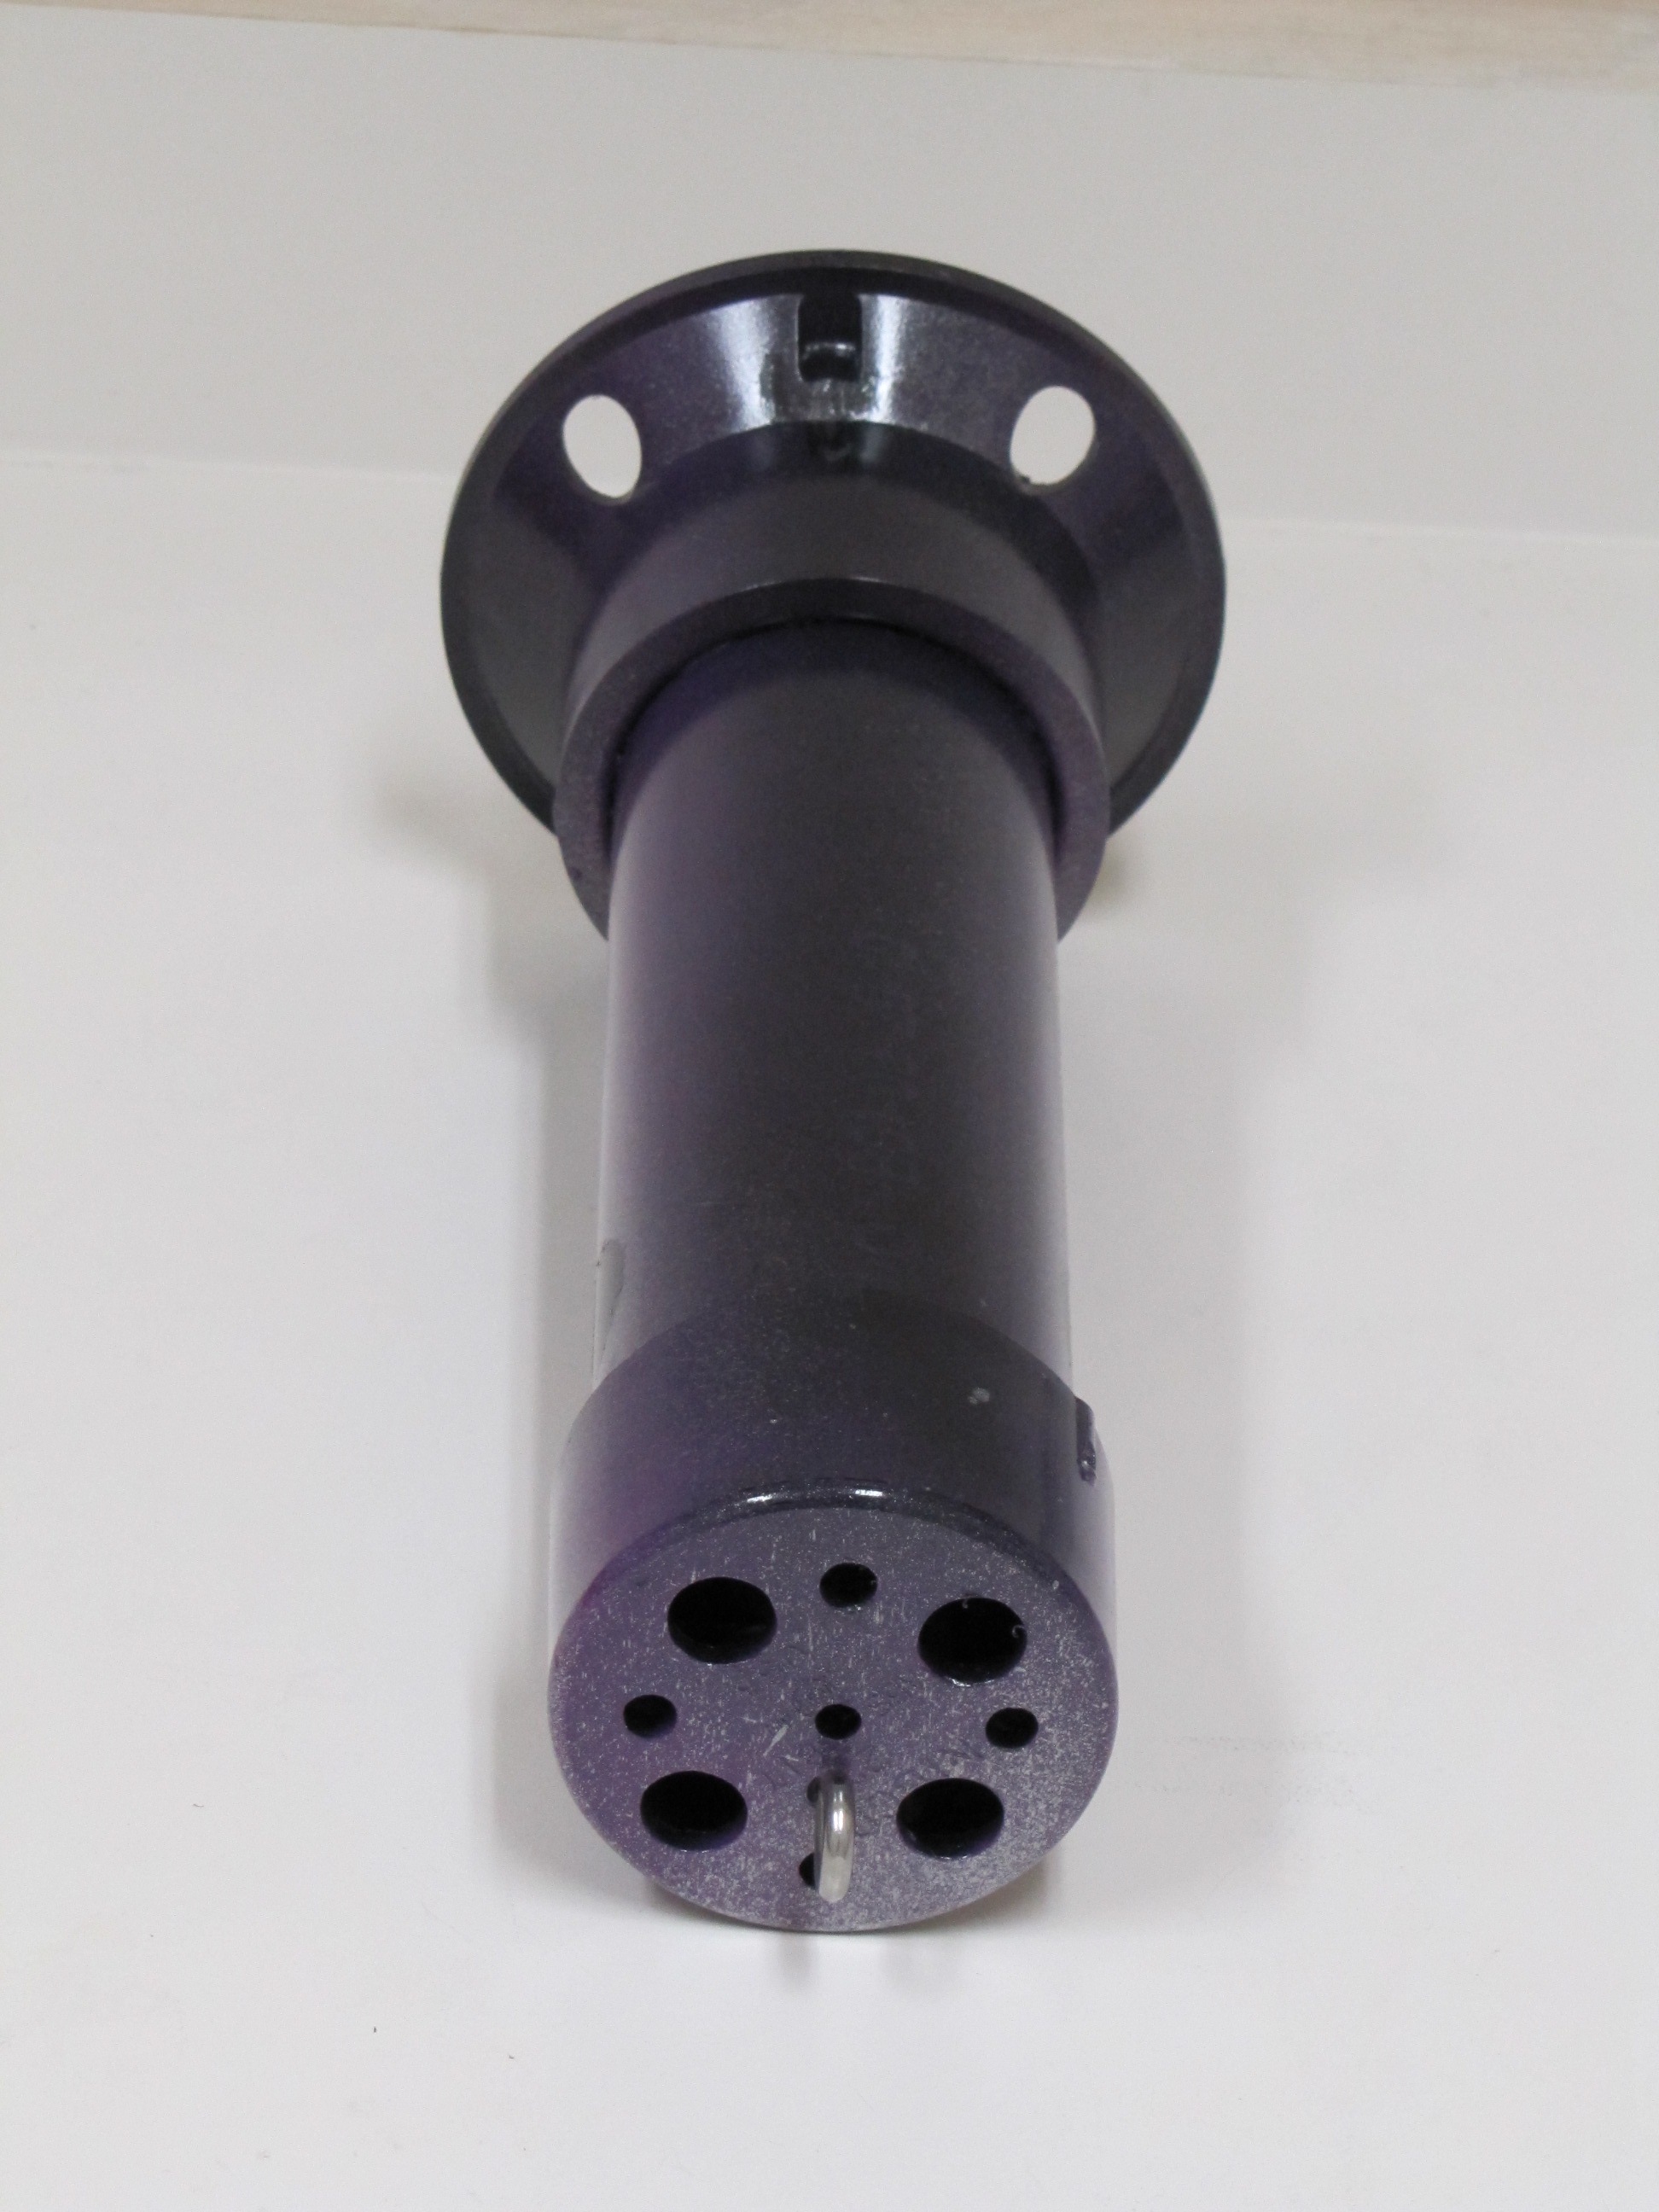
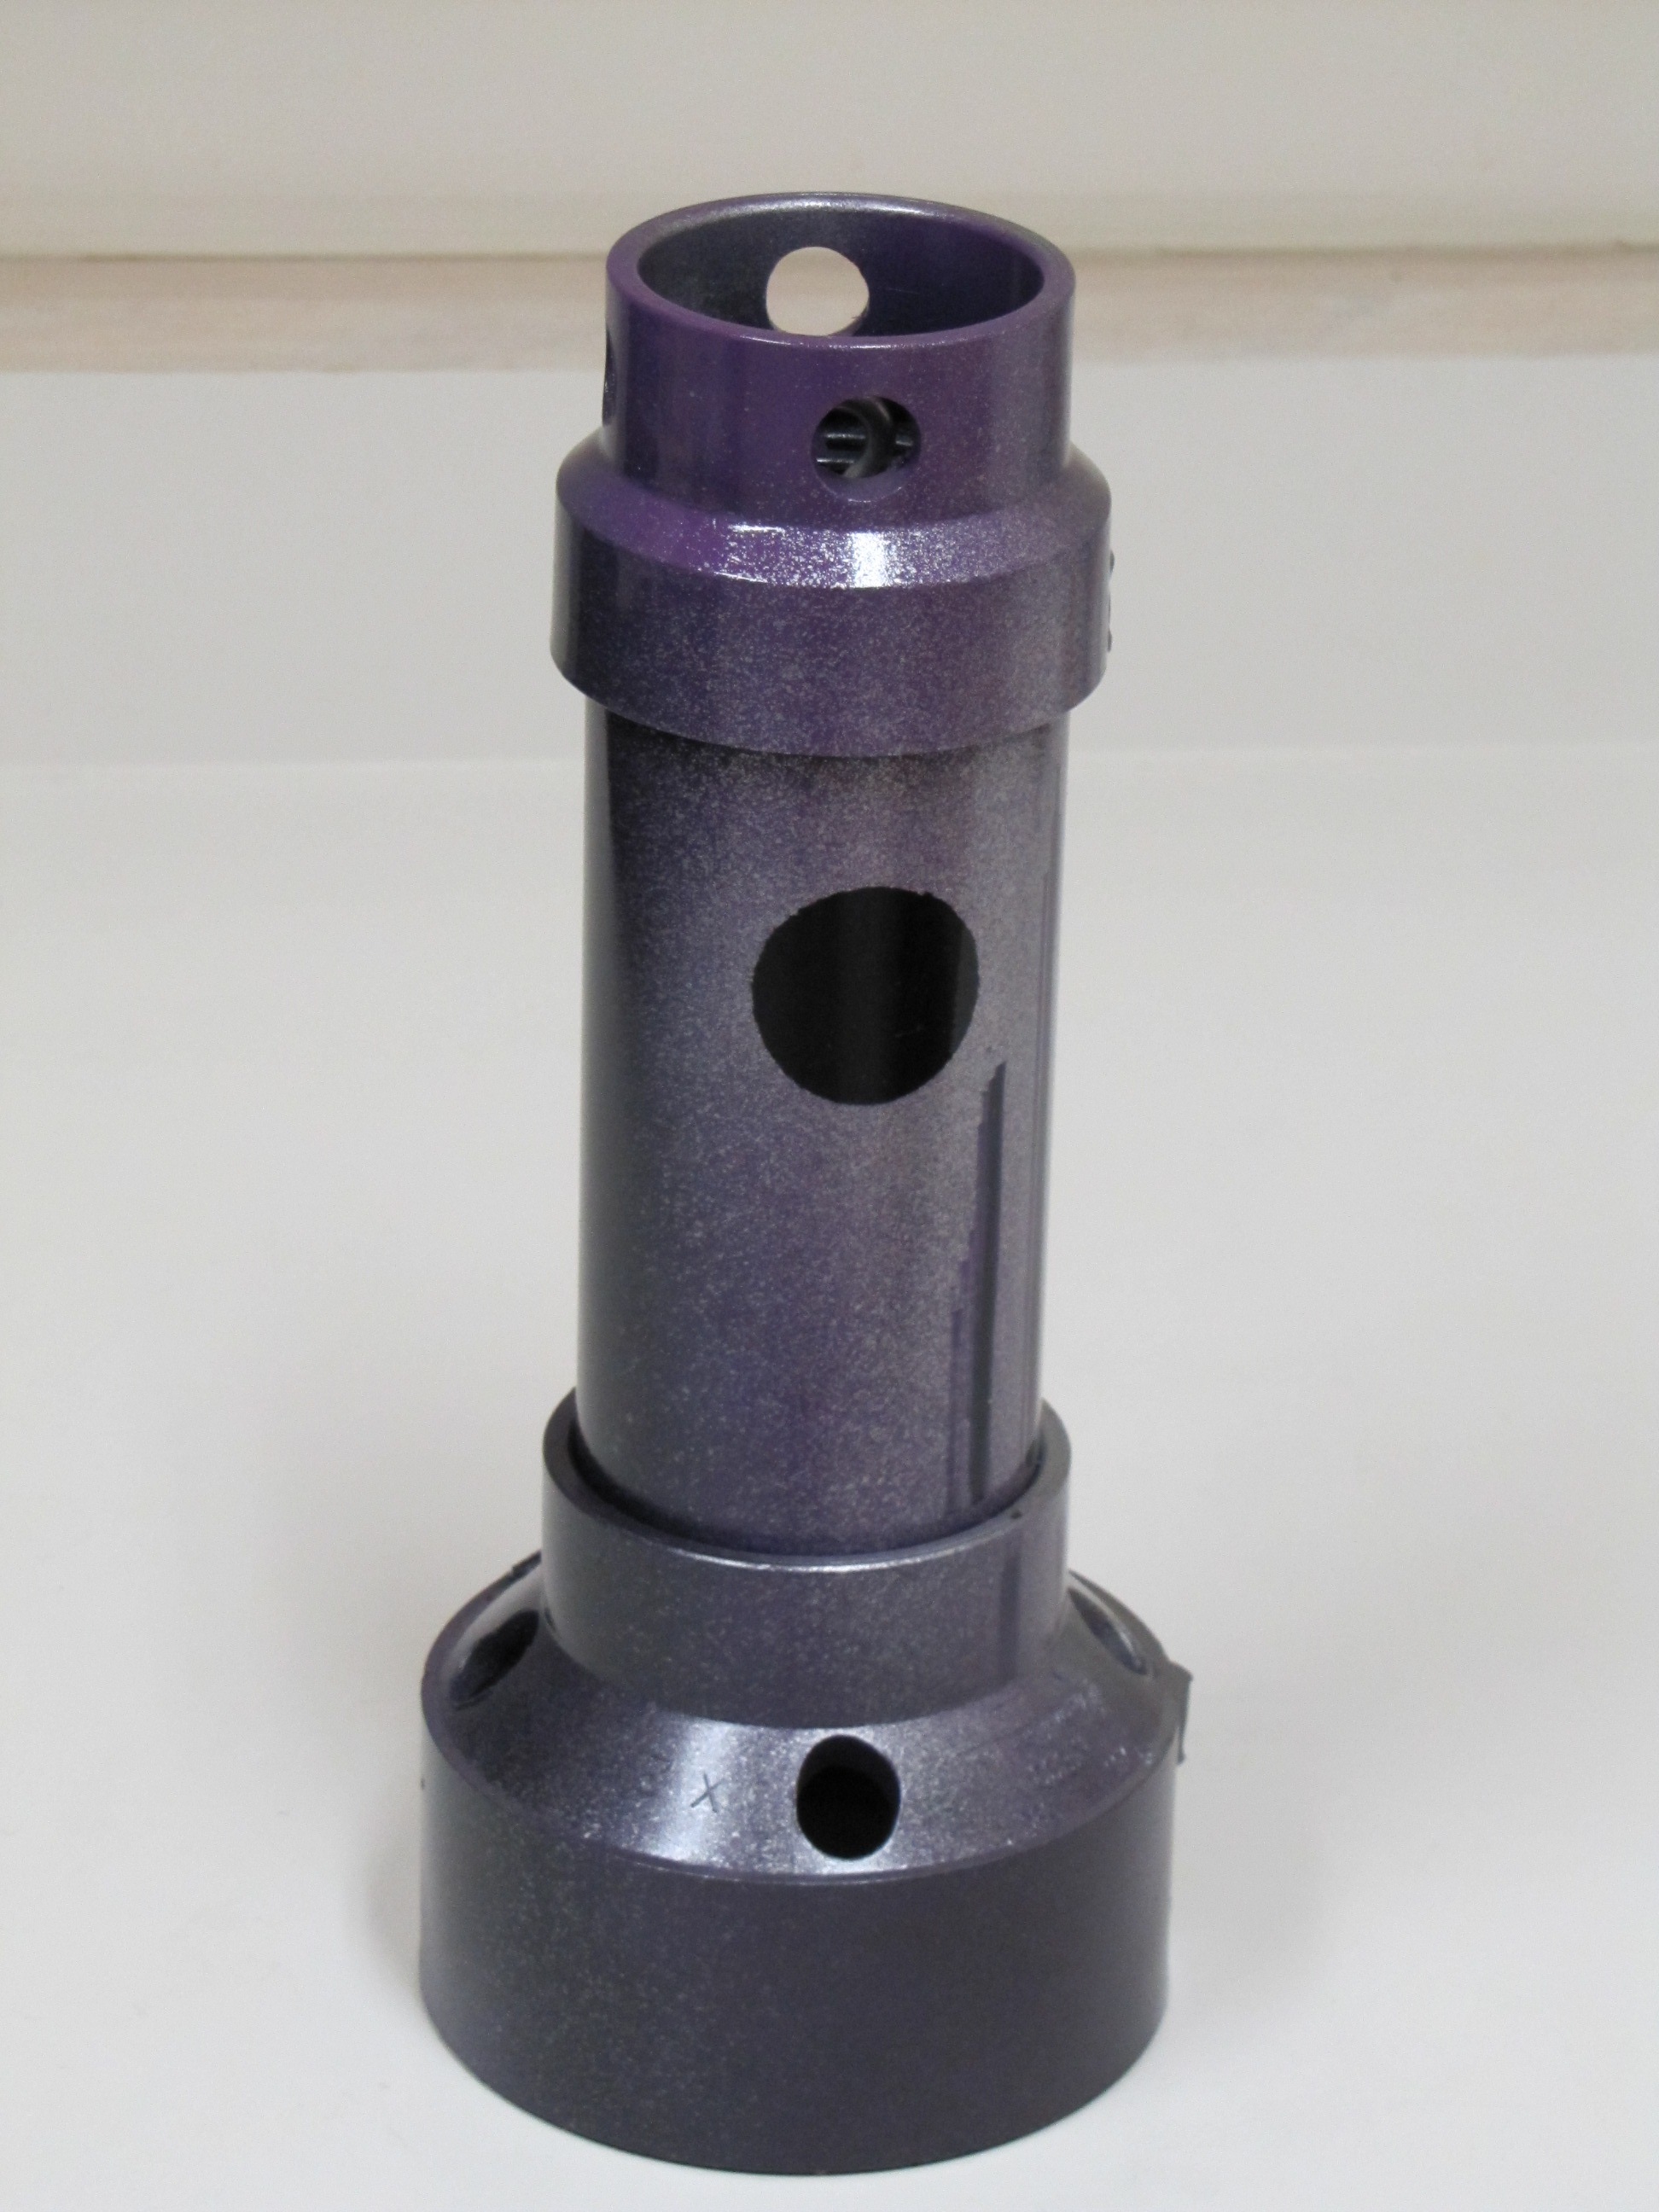
INSTRUCTIONS: Cut pipe to desired length. This one is a 12"pipe and an overall length of about 14" . Drill four 1/2 inch holes in the large drain "tail" to make smoke. Insert the small drain piece in the bottom (no glue) and then attach the large floor drain "tail" with PVC glue. This piece comes with a stainless steel bottom plate that you can leave or remove. You can use a rounded (white) or flat (black) cap for the front end. Drill four 1/2" holes in the cap plus a 1/8" hole dead center for the stainless steel eye bolt. Mount the eye bolt with a flat and lock washer. Use a set screw on the front cap rather than glue so that you can remove the cap and play with the number of marbles inside. I start with five and it really rattles. Drill a small hole for the set screw when the cap is tightly in place. I use a counter-sink on the set screw hole so it is flush. I mounted a little weight in the bottom of the tail to help it run in the correct vertical position (not shown in these photos). Personally, I do not mind it turning because it looks like the fish is panicking or hurt.
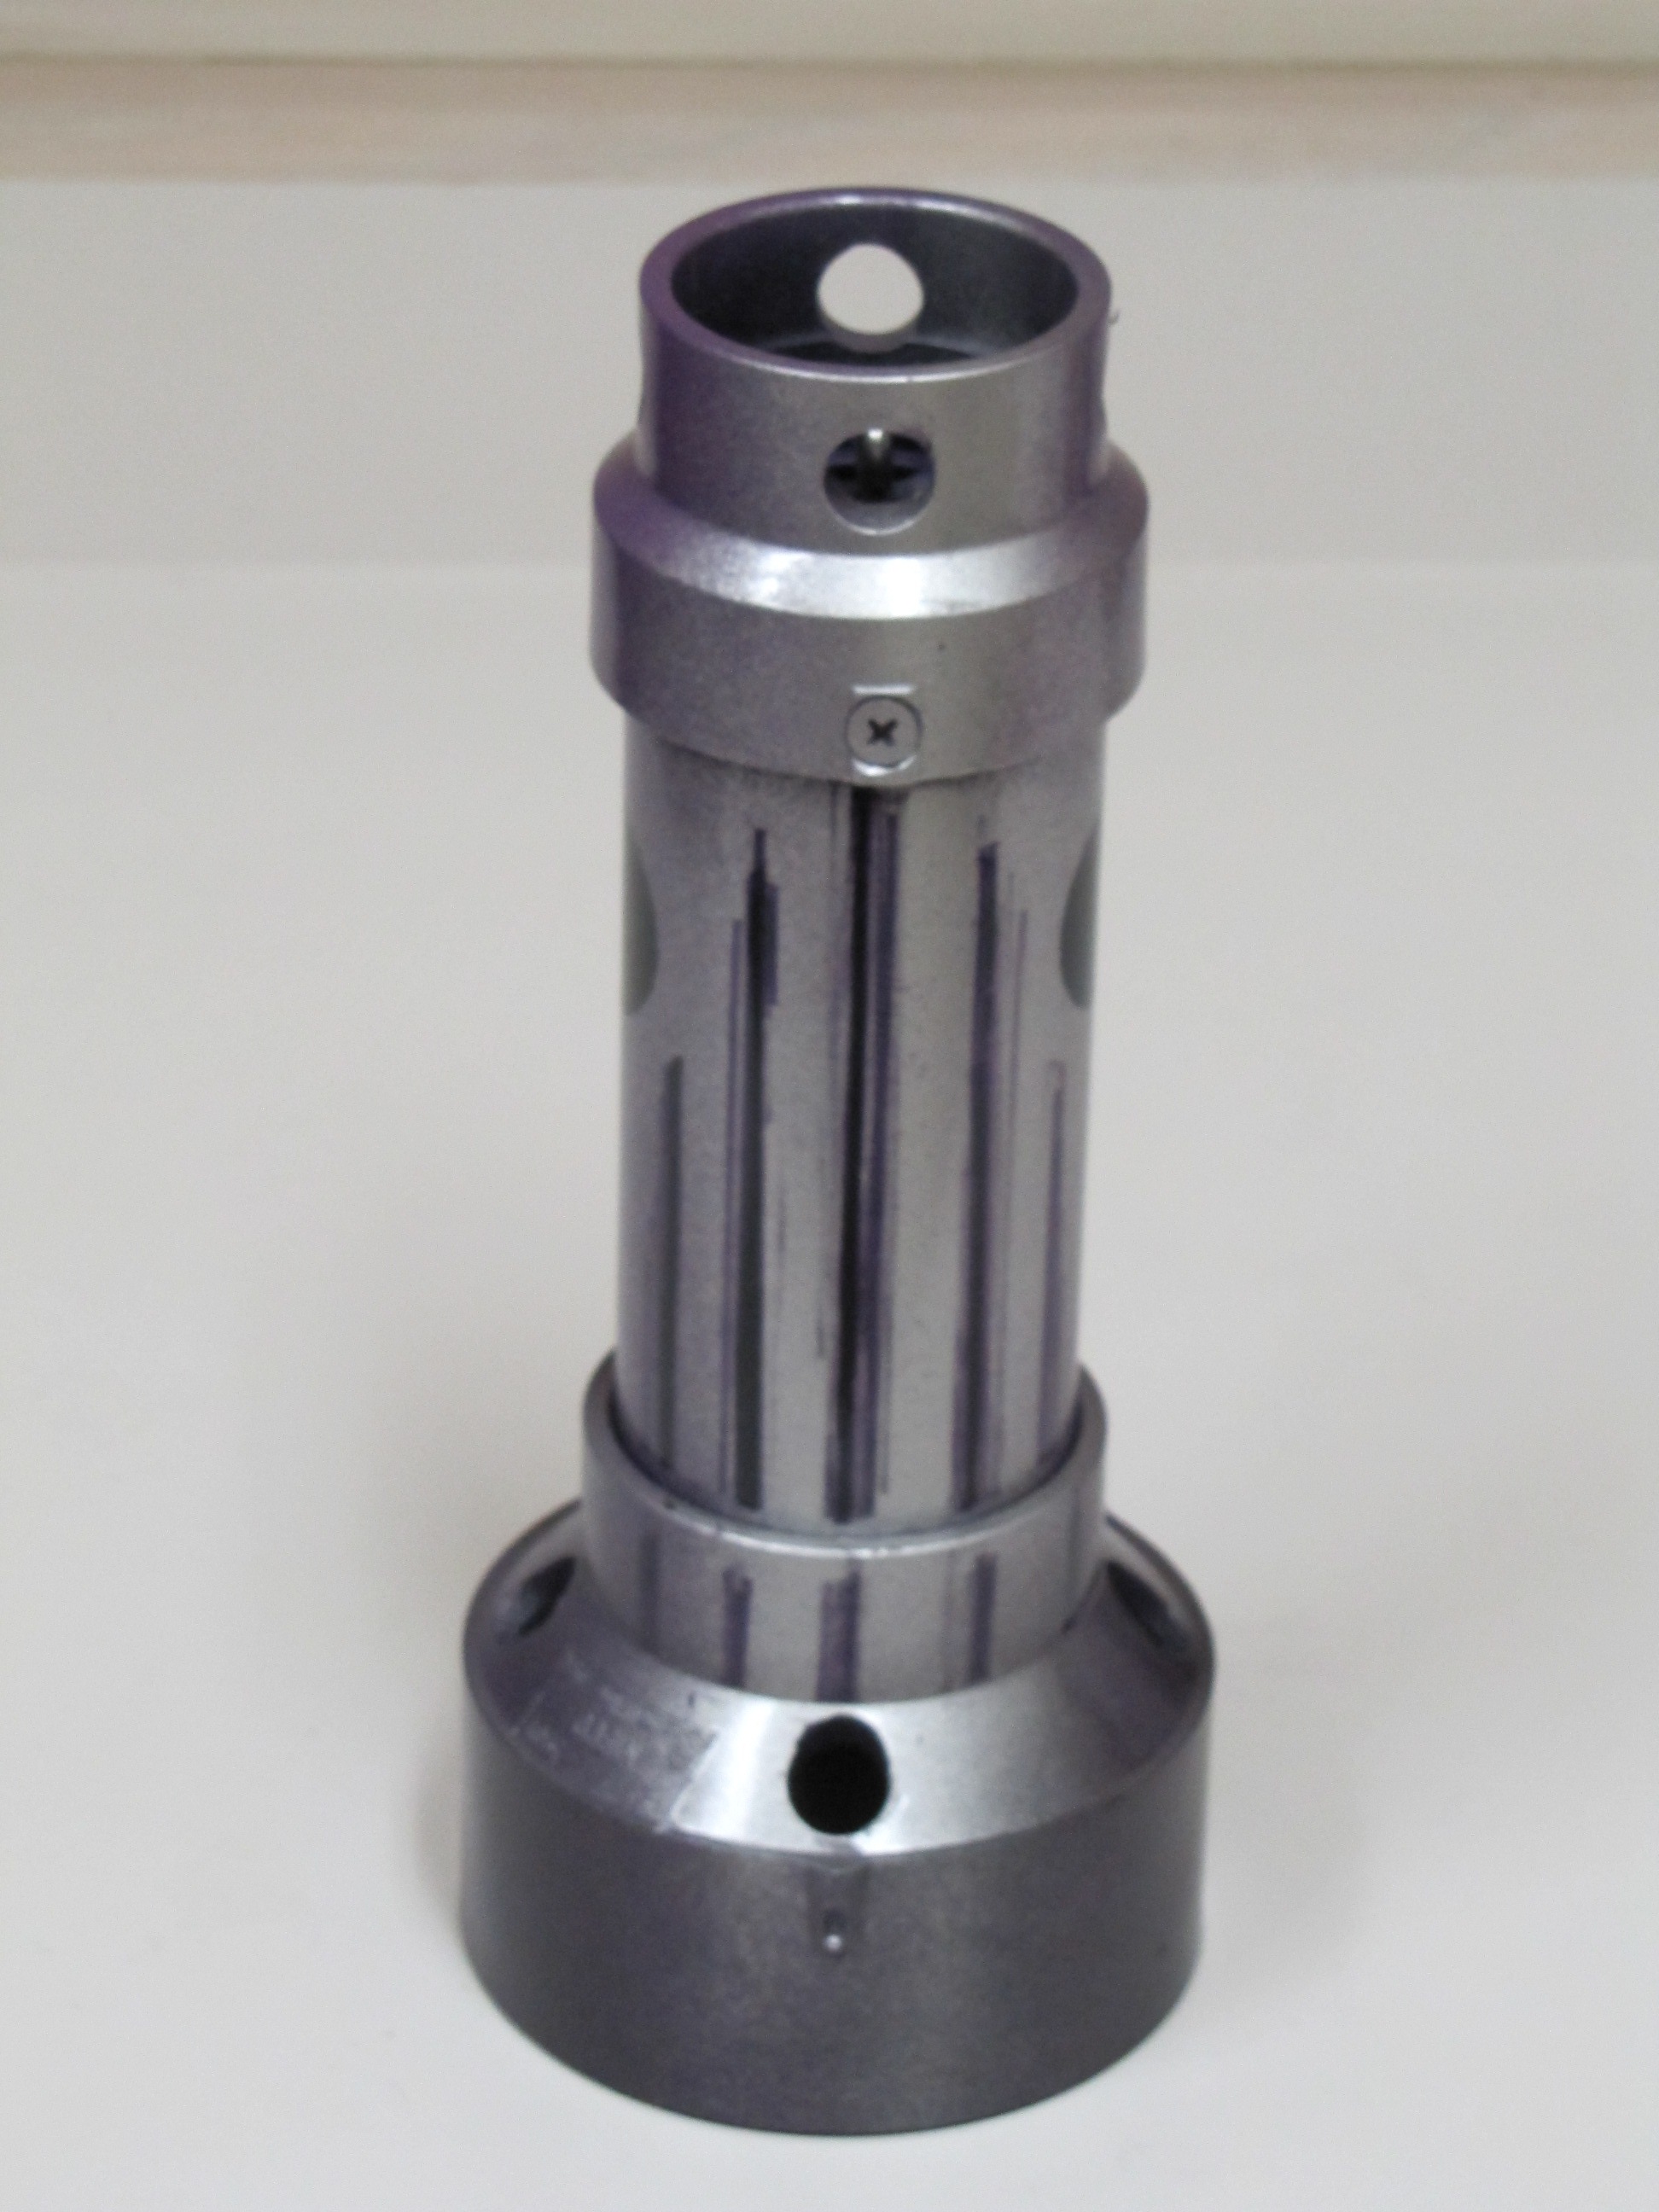
Paint the fully assembled teaser to your liking. Don't worry too much how it looks because these kick out so many bubbles the lure details become hard to see. Pretty lures catch fisherman, not fish. I apply a thicker base color first and then mist with silver to my liking. I use blue masking tape to make round eyes. Be sure to put those on before spraying any paint. Use a quarter to draw your cut lines on the tape. Peal the tape off after you are done with all the colors but before the clear poly. I made the belly lines by scraping the paint off with the edge of a chisel. If you want to soften the look of the belly lines, lightly mist them with silver. Start your spraying from 2 feet or farther back and bring the can closer where you want heavier color. Personally I think dark colors or high contrast work best because they are more visible in the water. These things move around enough and make so many bubbles that most of the details are obscured anyway. When you are all done, give it a coat of clear poly to make it shiny and to help the paint hold up.
The Smokin'
Gun...evidence of fish in the pattern
Creates a lot of commotion starting at the front of
the teaser, pushes a lot of water & bubbles and creates a nice smoke trail when
it dives. Tends to dive and slowly resurface with a splash and quickly dives
again. (Note: I am going to experiment with the towing eye placement to
get it to stay on top of the water more. I am also going to go with painted eyes
instead of bolts and washers for eyes to make it a little lighter and cheaper.)

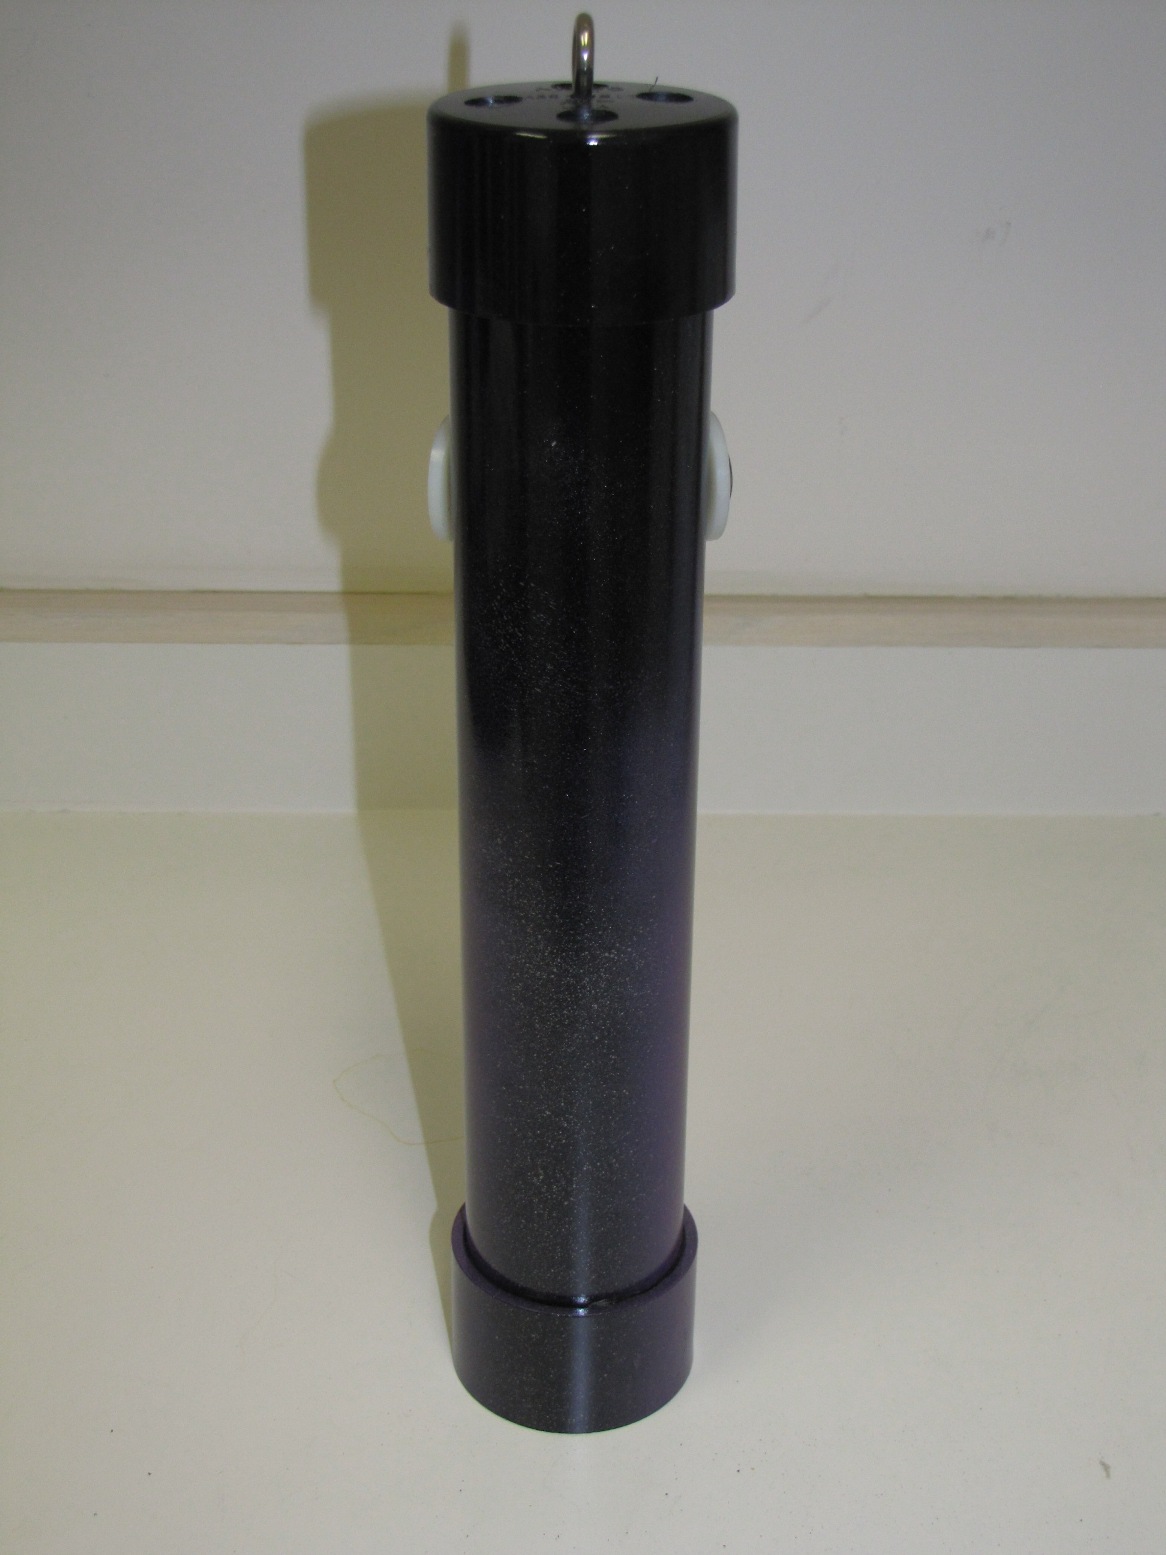


INSTRUCTIONS: The only difference in this one is the stainless steel eyes & nylon washers and the connector cap on the tail. I use nylock nuts to secure the bolts for the eyes. Mount the eyes at 4 o'clock and 8 o'clock so that it swims belly down most of the time. If you put the eyes at 3 and 9, it will run one eye-down.
Mix and match the heads, tails and colors depending on what works in your area. Try different lengths and diameters too.
I tow these with a 25 or 50 foot 1/8 inch nylon cord attached to 10 feet of 400 pound mono using a swivel and then attach the mono to the eye bolt with a swivel clip so that I can switch the line to other teasers. Tie a loop in the end of the tow line so you can easily hook it around a cleat on the transom.
If you tow these on a flat line they will dive with a big smoke trail and resurface with a big splash. If you drag these from the flybridge, they will stay on the surface and splash.
The first time a marlin comes up and starts smackin' these around you are going to laugh your ass off and say " I made that little piece of shit...and it works!"
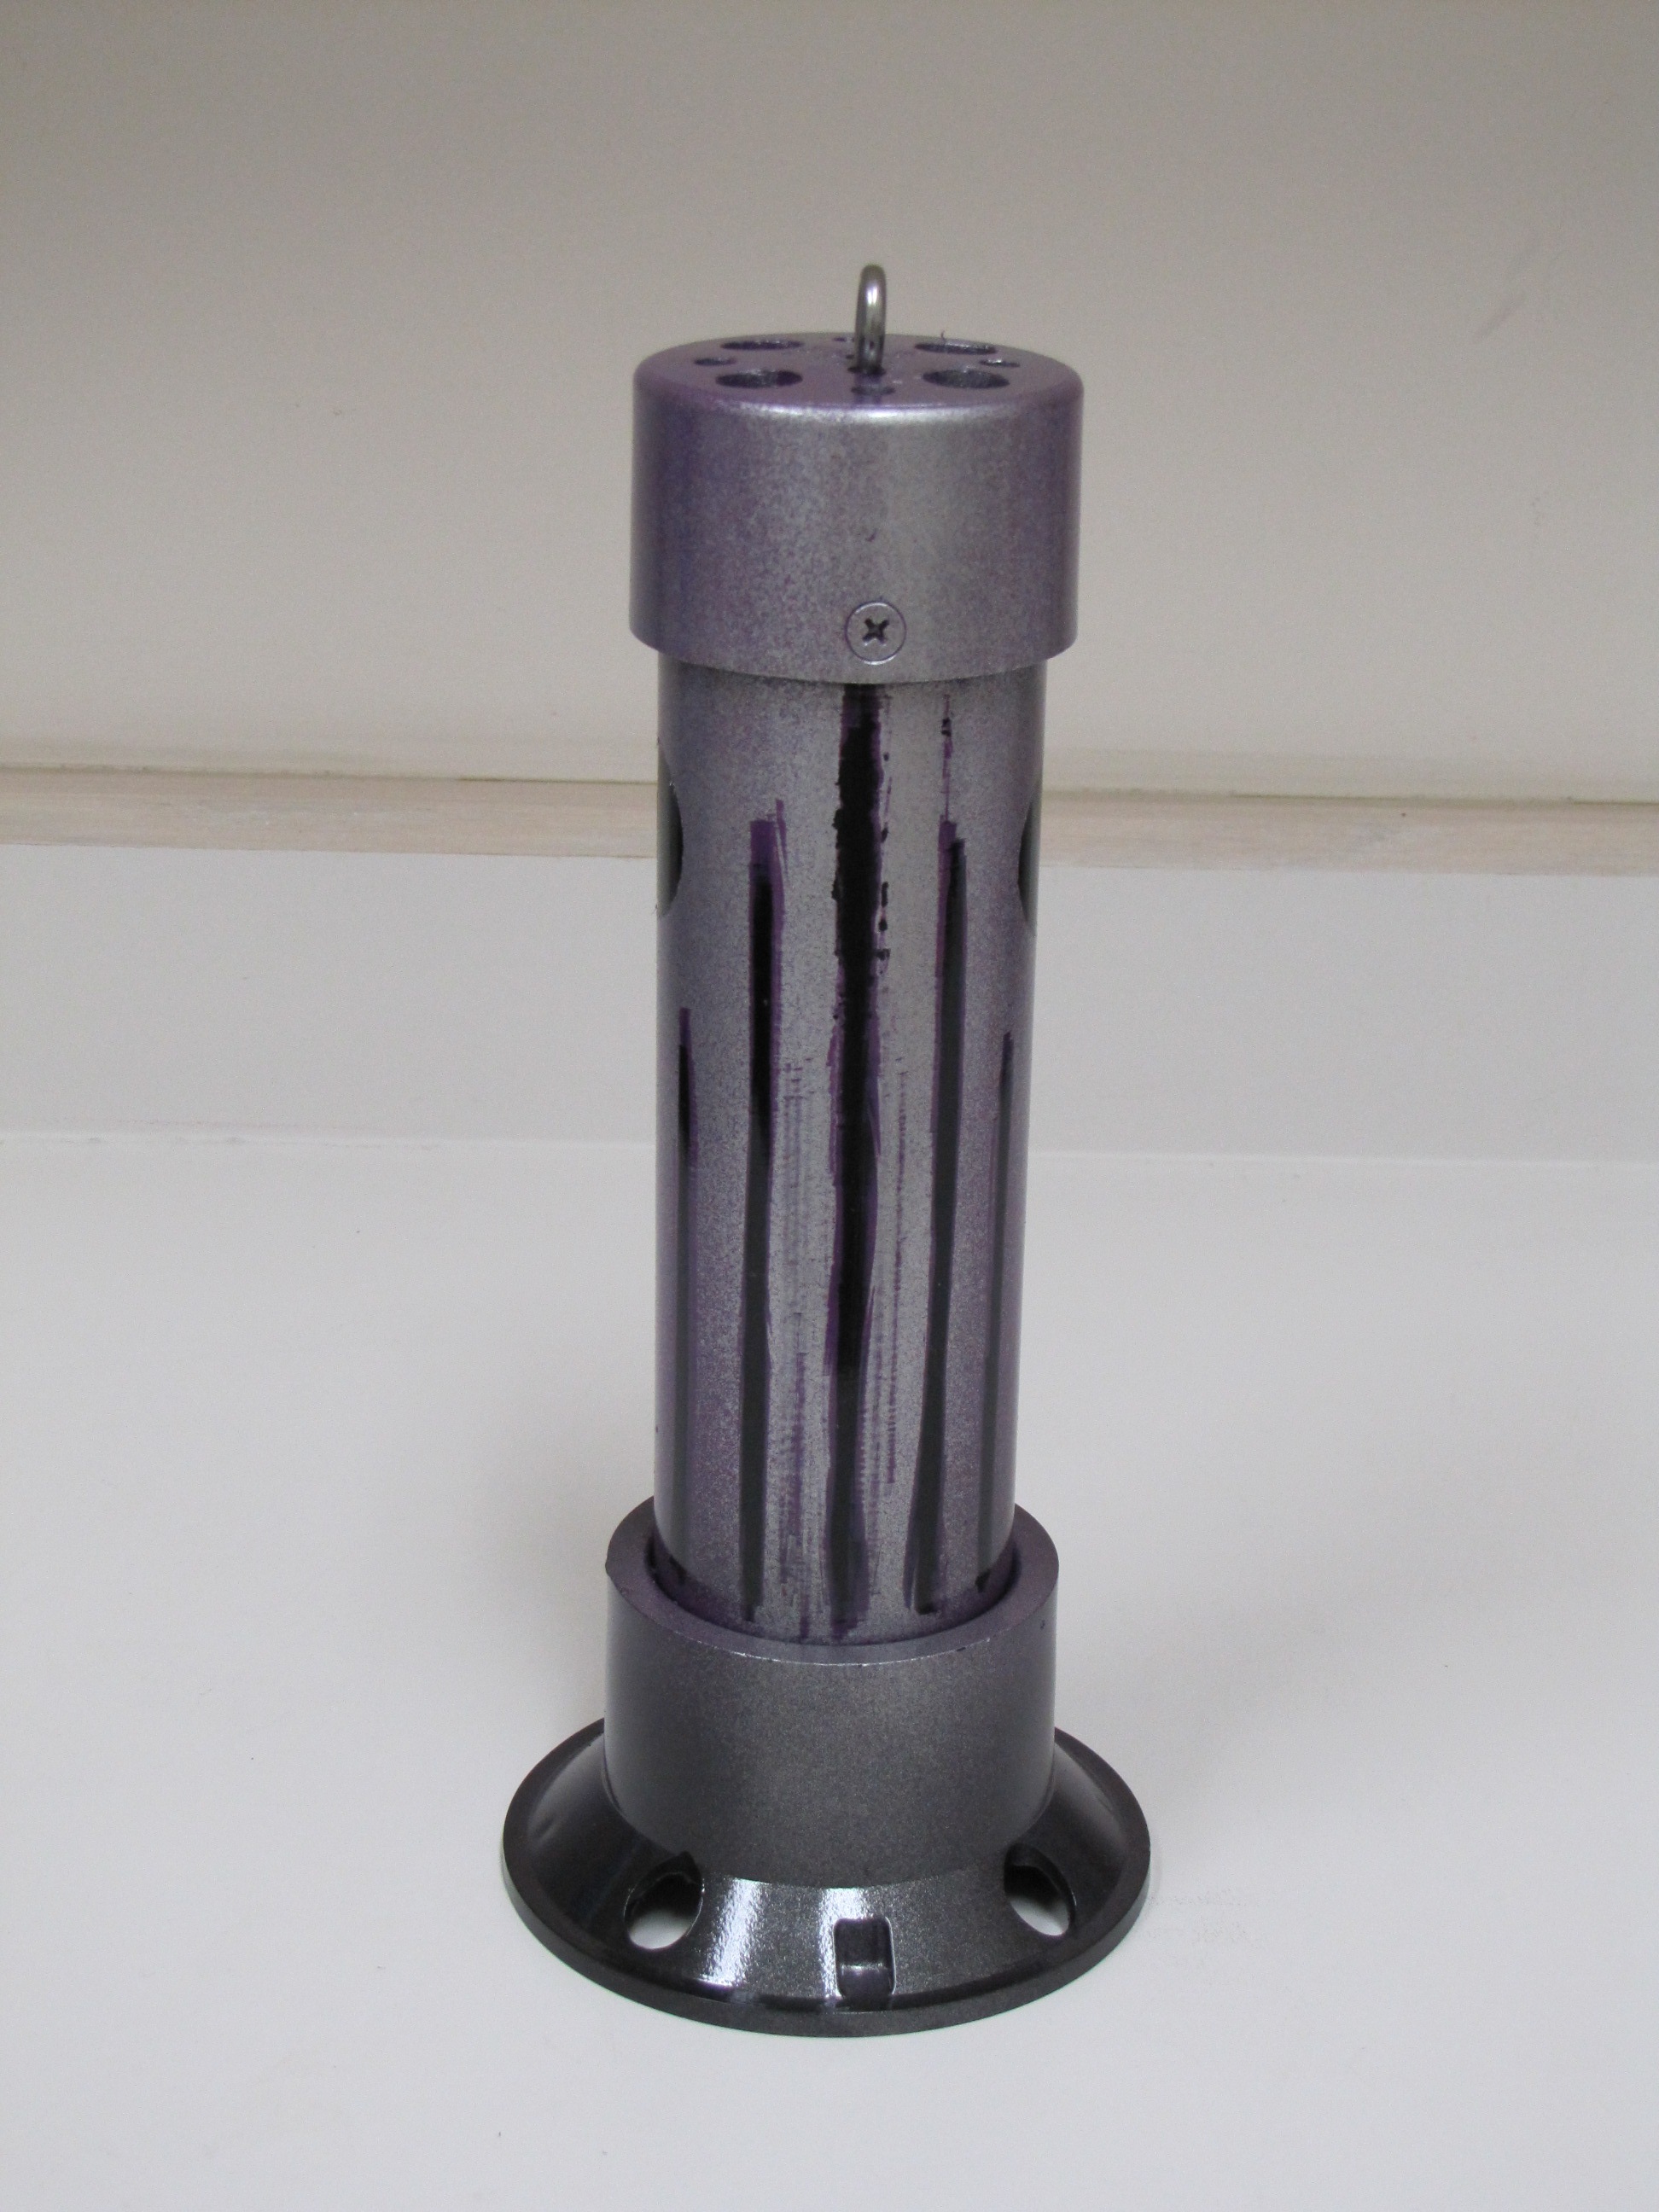
Smokin' Gun
II
This variation is probably my favorite because it swims very
aggressively wagging its tail and shaking its head. I drill three tow points in
the head so I can adjust how much it dives. I like towing it using the tow point
farthest from the middle because it causes it to wobble and shake the most. That
also keeps it up on top of the water splashing more. By adding the tail fin, it
splashes from both ends and looks more like a fish swimming.

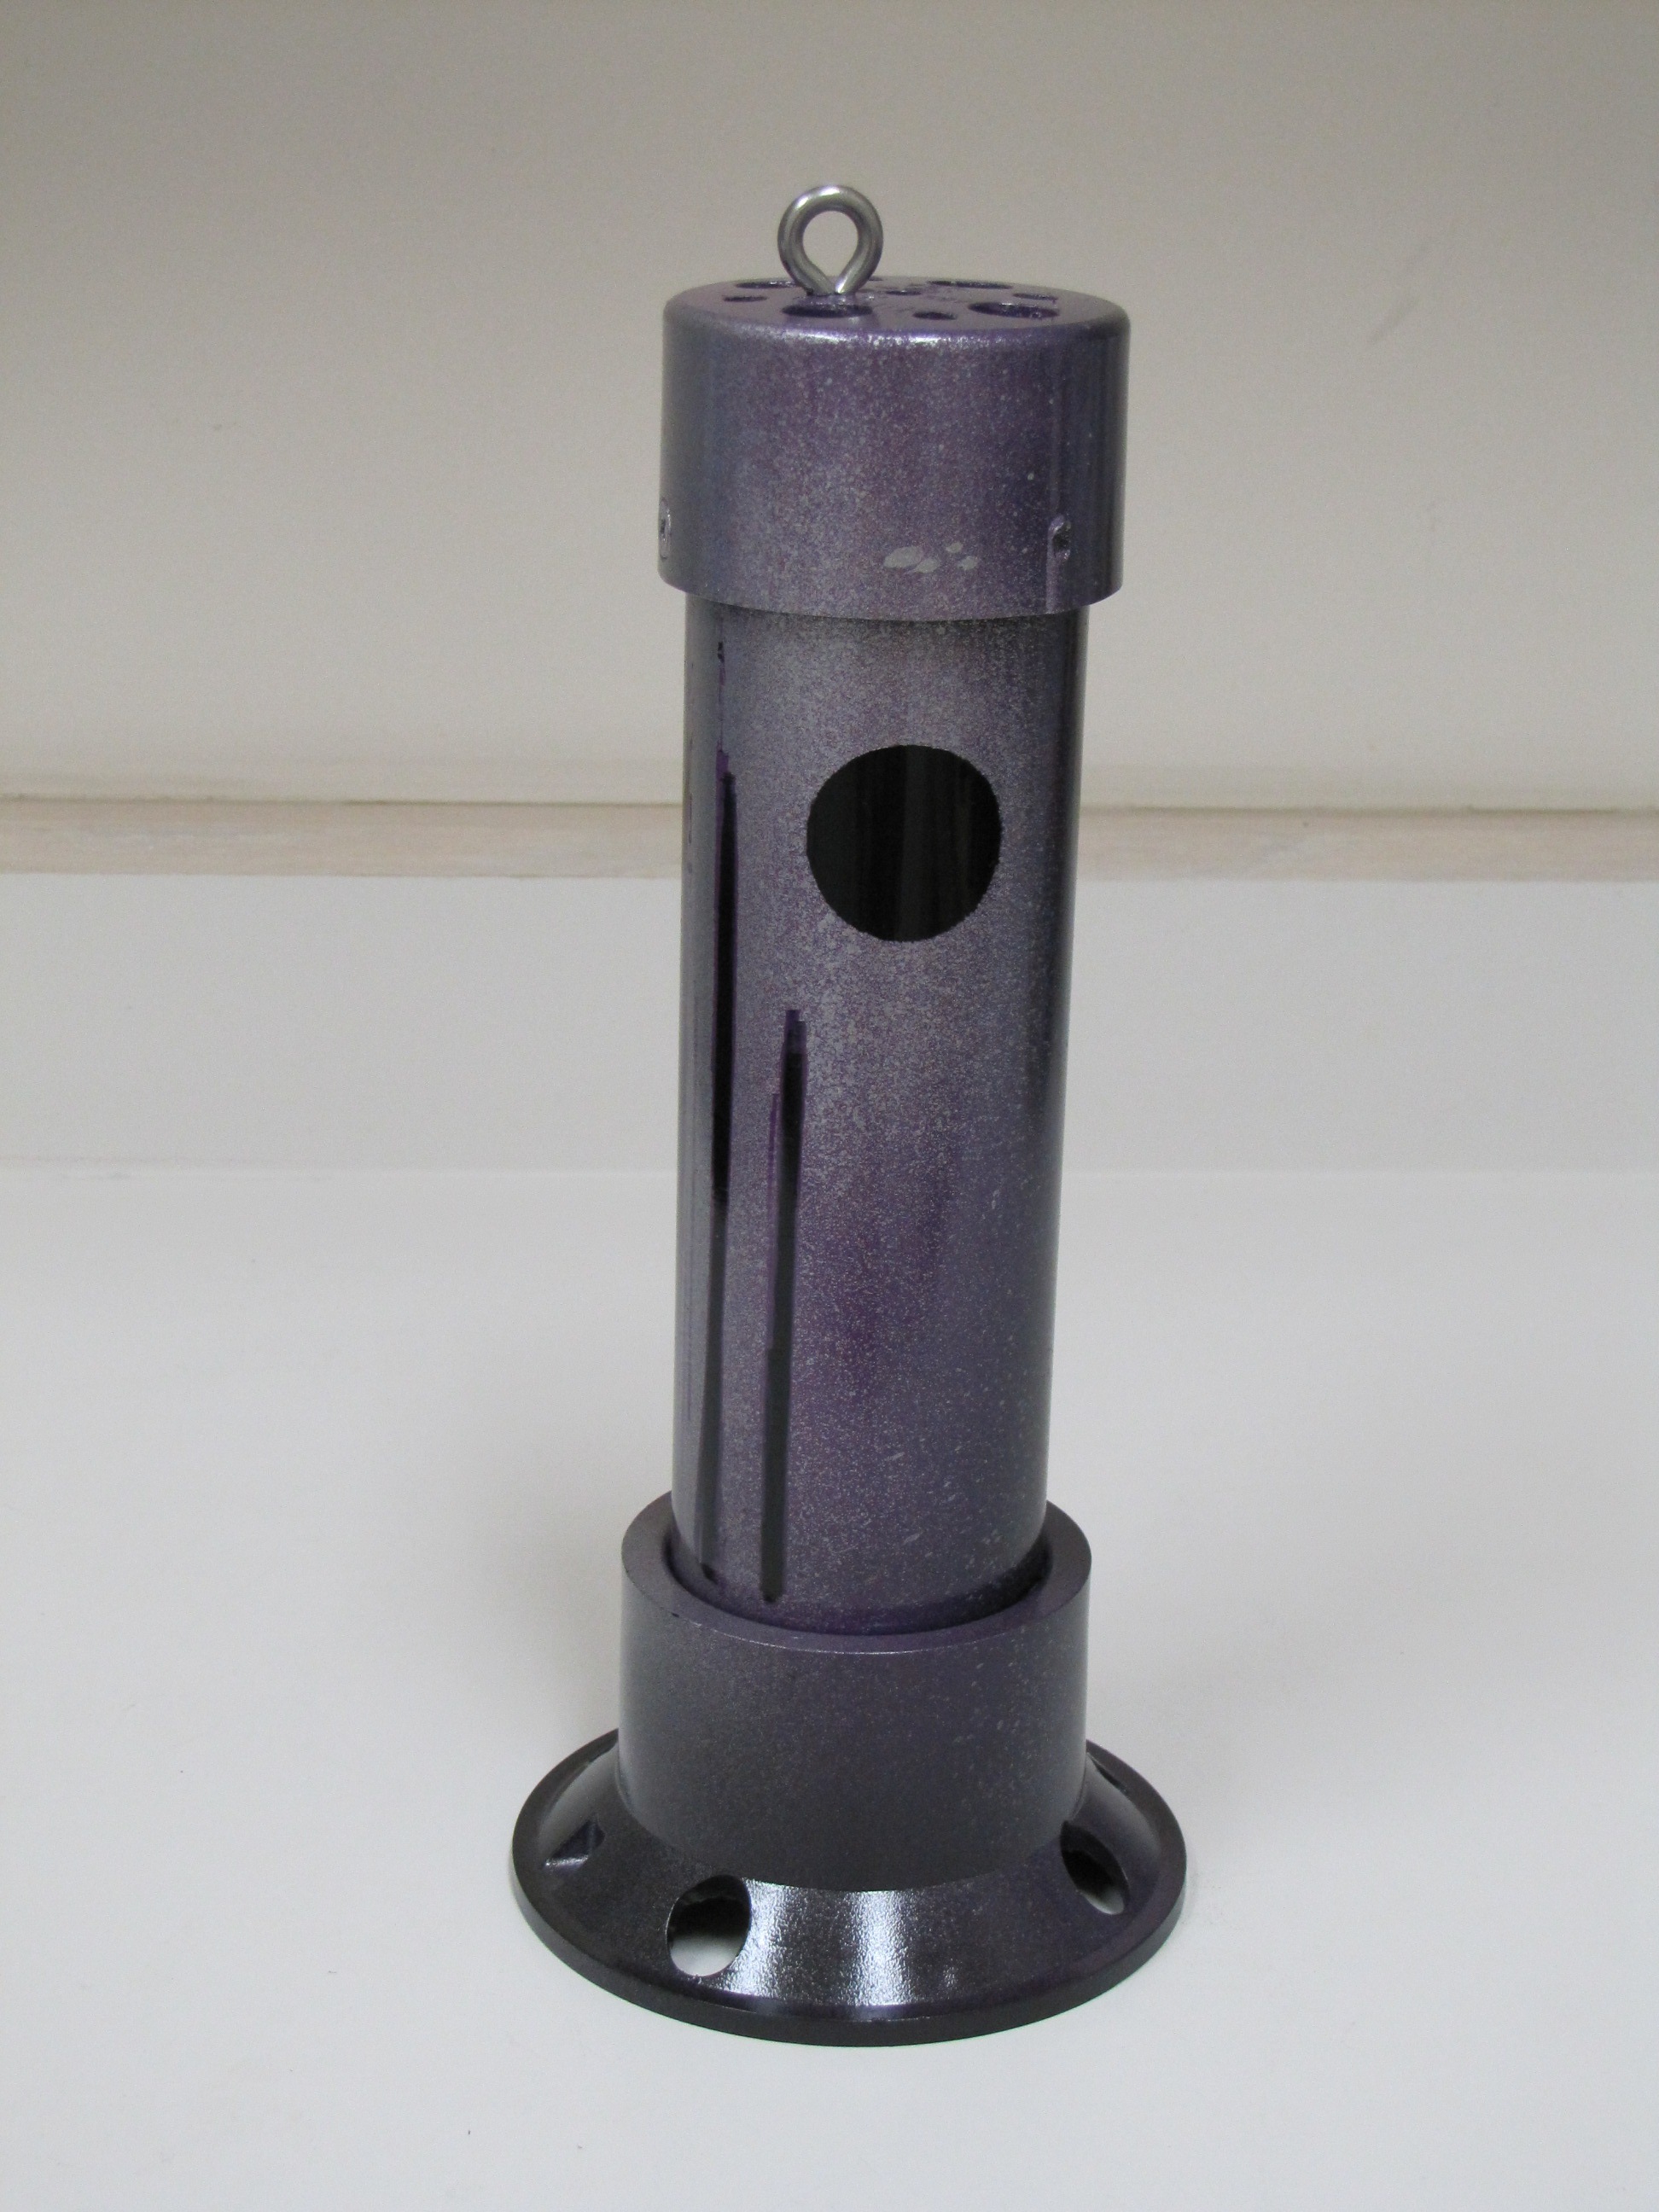

The Bazooka...blow 'em out
of the water
This one acts a lot like the Smokin' Gun II (SGII) except it digs
into the water and dives a little more. It also shakes its head and tail but not
as much as the SGII. This design might work better in rough water but I
have not tested that yet.


All of these are very splashy and create a lot of commotion in the water. Experiment with pipe diameter & lengths and head & tail pieces to get your desired results.
PARTS:
Home Depot:
-Black PVC pipe (2 foot pre-cut), caps, drain pieces and
connector.
-Paint (be sure to get the paint that is good on plastic)
-Polyurethane spray
West Marine:
-Stainless steel eye bolt, flat and lock washers for the tow
eye
-(Optional) Stainless steel bolts, washers and nylon washers for the
eyes
-1/8" nylon cord
Michael's or other craft shop (or steal them from
your kids):
-Half inch marbles (4 or 5 per teaser)